DIN EN 1344 requires the slip resistance class U3 for paving surfaces in pedestrian areas, which corresponds to an SRT value of at least 55 (SRT = Skid Resistance Tester). This requirement is met by all wienerberger pavers!
- /
- Pavers
- /
- How to lay clay bricks?
How to lay clay bricks?
Planning to build your own patio, driveway or walkway in your garden? This is perfectly possible! With this processing advice, you will learn how to install clay paving yourself in just a few steps.
Step 1 - prepare track bed and work
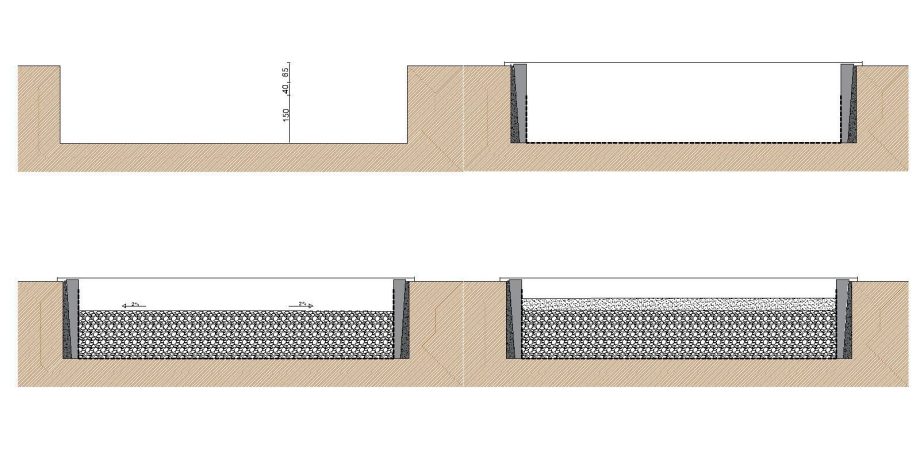
Excavation to proper depth
The subgrade, or track bed, is usually obtained by excavating soil. It is important that the subsoil be firm enough to support the foundation, the clay pavers and the load that will be placed on top of them, such as a car on a driveway. The subsoil must also be sufficiently permeable. This makes it necessary to excavate deeper than the thickness of the clay pavers. So be sure to check the depth.
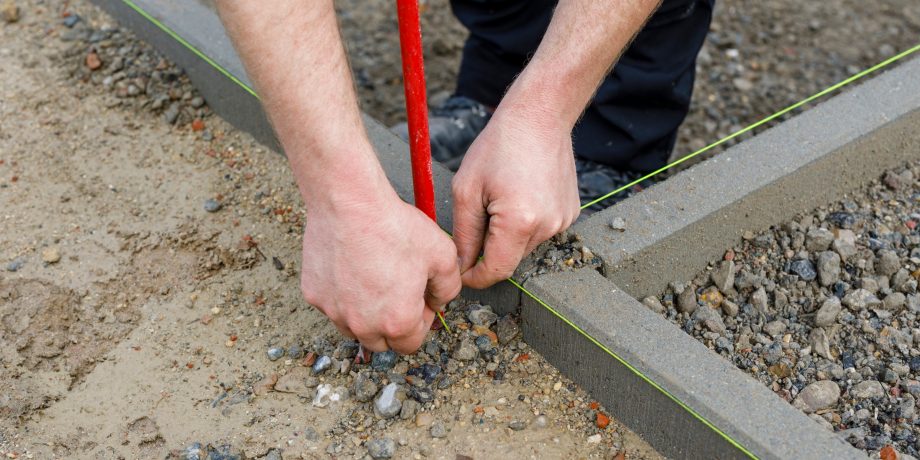
Plotting with wire and pickets
You can use wire and stakes to ensure that the subgrade is deep enough everywhere. When doing this, also take into account the necessary slope at the final finish in order to drain rainwater sufficiently (2 m per 100 m). Make sure that the surface is completely free of dirt, debris and water after you have excavated the necessary soil.
Step 2 - install edging
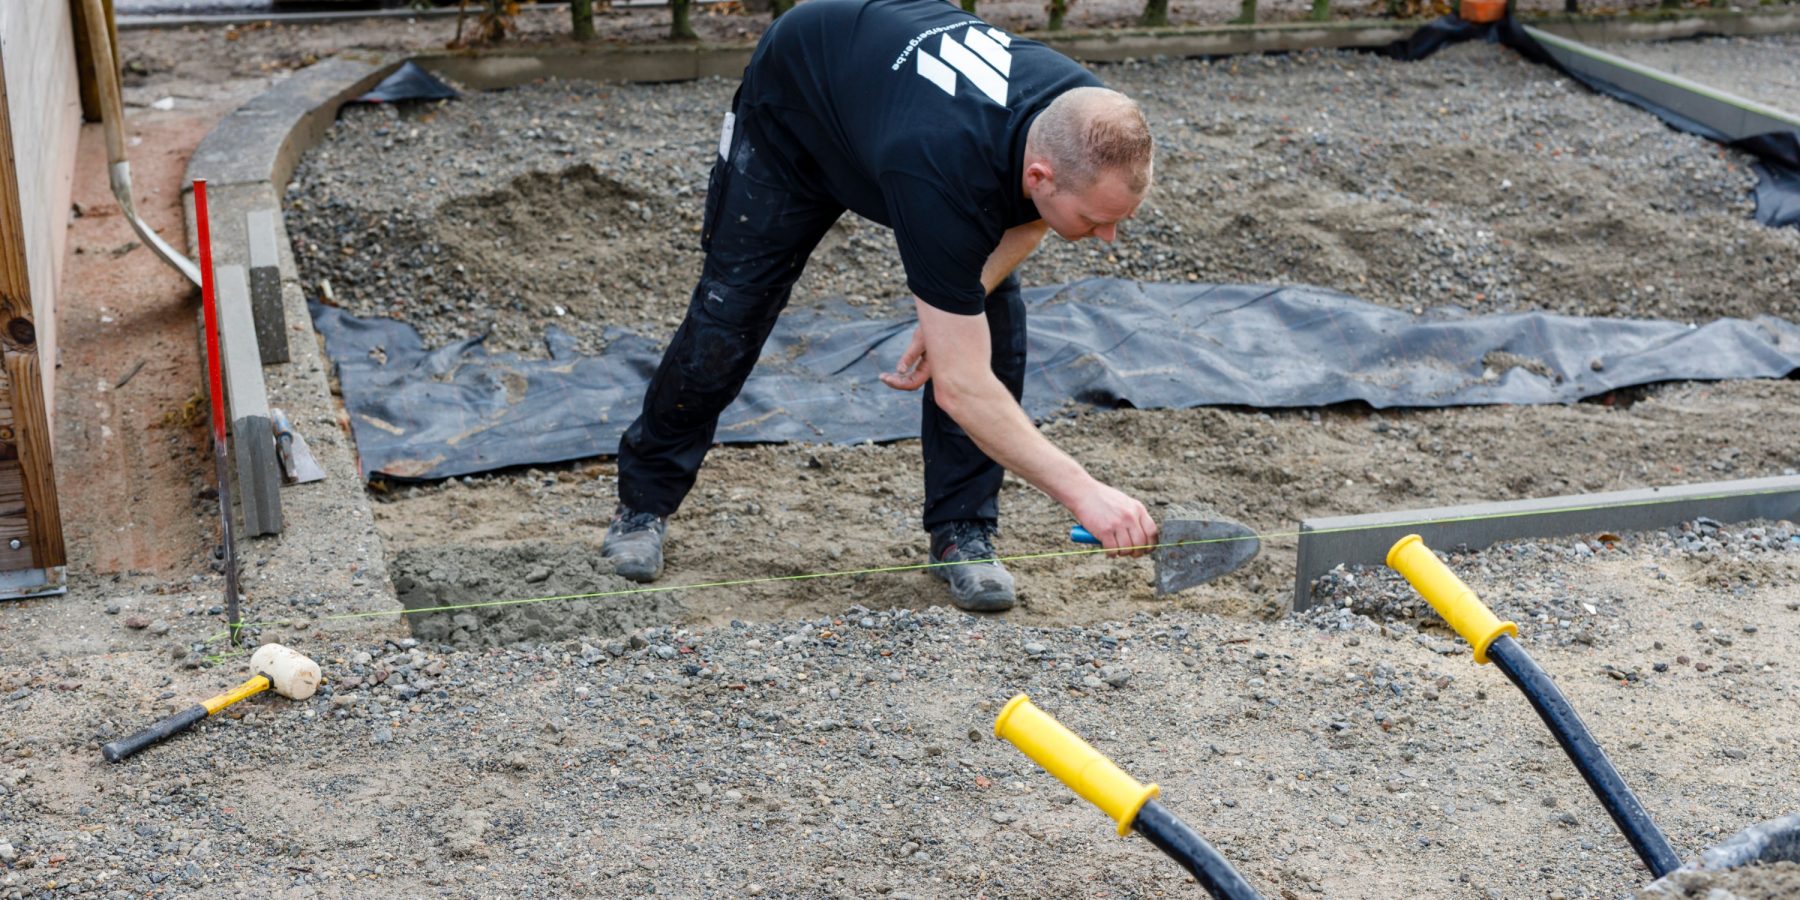
Provision of edging
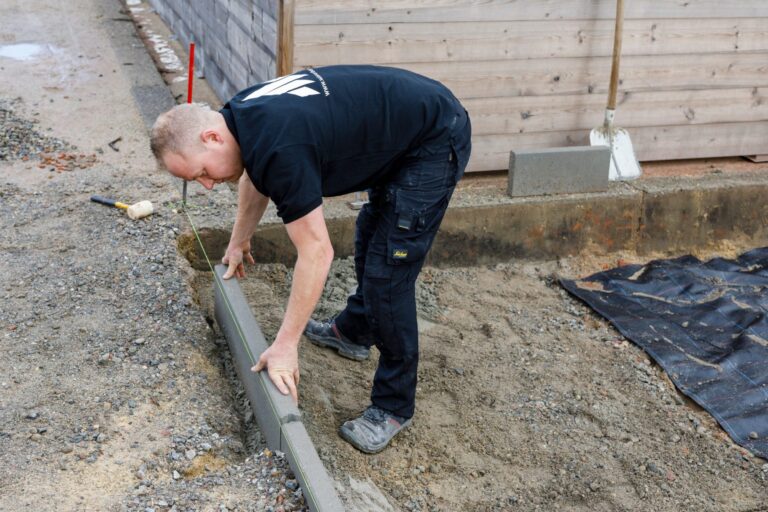
A properly placed curb, or edging, is very important because it keeps the clay clinkers in place.
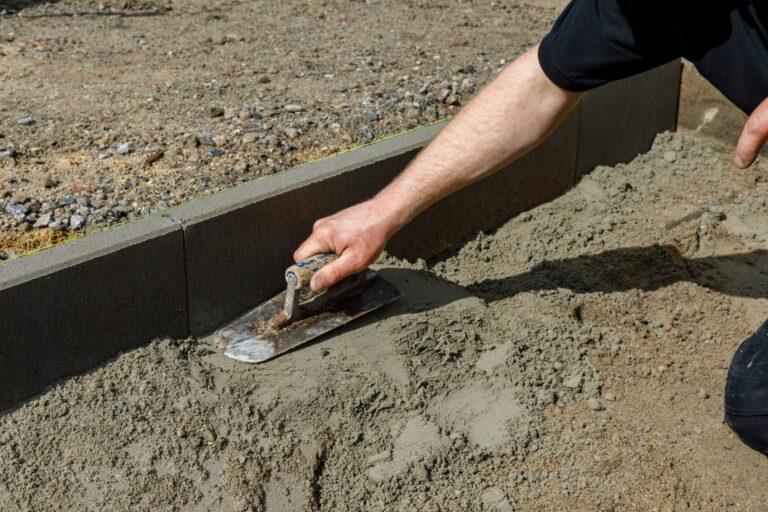
- Usually you just need precast, line-shaped concrete elements for this. Place these on the ground even before you lay the foundation. Under the embankment, you also apply another 5 to 10 cm of sand. Finally, secure the edging with sand cement and allow to harden for 1 day.
- Extra tip: to avoid having to saw a lot of clay clinkers, it is best to lay out a row of clay clinkers beforehand. That way, you will know how far apart the borders need to be without having to saw clinkers. Use clay clinkers from 4 different pallets to avoid any size nuances.
- The clay clinkers should end up about 0.5 cm higher than the edging to prevent water from standing (not necessary if you install a gutter).
- In addition to the border fence, it is best to also provide 1 or 2 rows of rows (2 rows of clay pavers placed on their side). Especially with diagonal joints, so that the sawn clay pavers do not lie against the edge fence.
Important: Allow the sand cement (around the edging) to fully cure before laying a foundation.
Step 3 - install geotextile and lay foundation
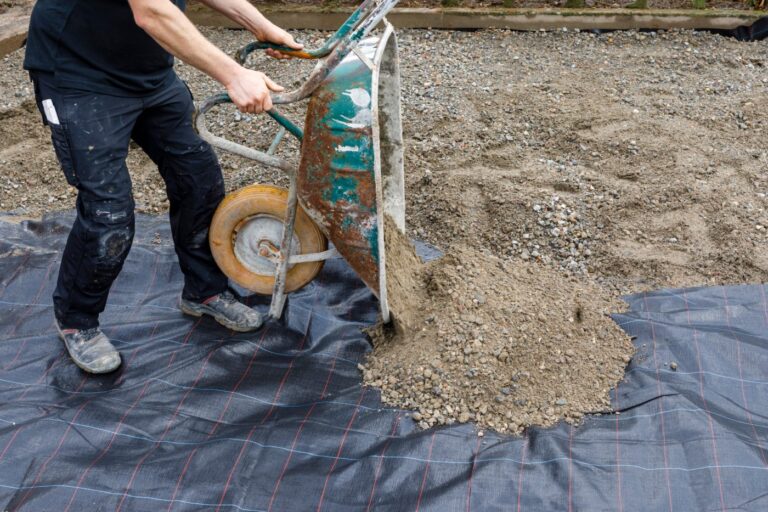
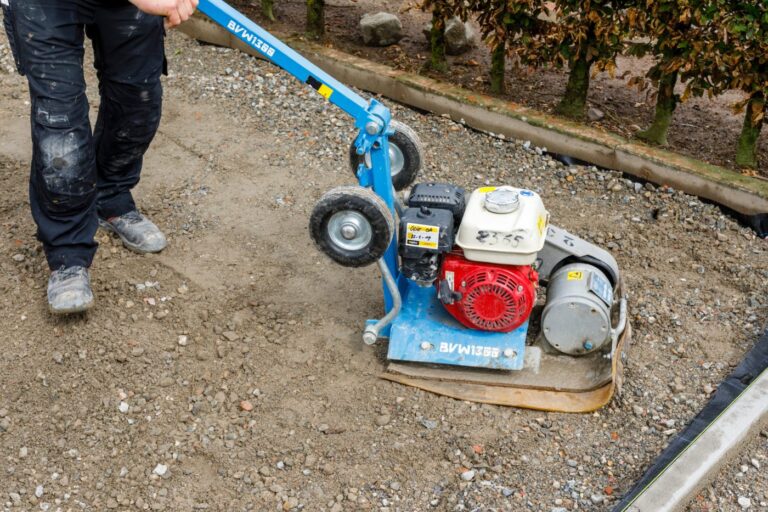
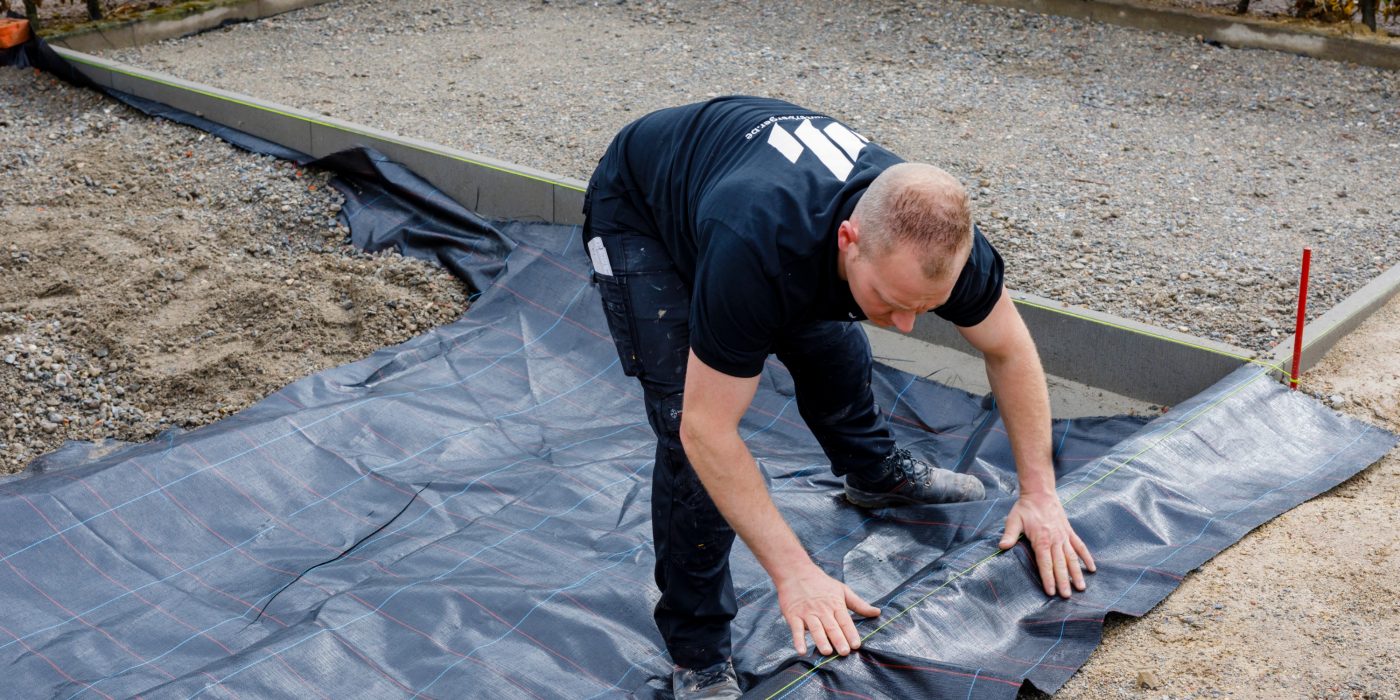
Laying a foundation
A geotextile must first be placed between the subsoil and the foundation. This is a cloth in plastic that allows water to penetrate the subsoil, but prevents dirt from getting to the foundation.
The thickness and material of the foundation depends on 2 factors:
- Bearing strength of the subsoil (e.g., clay or sand)
- Expected load (garden furniture on a patio or a car in a driveway)
In private applications such as patio, walkway, driveway ... a foundation of 20 to 25 cm of compacted crushed stone usually suffices. Make sure that the foundation is compacted and remains sufficiently permeable so that you do not have frost damage in the winter.
Important: a slope of 2% is required at the final finish to allow water to drain away. You should already do this when laying the foundation.
Step 4 - constructing a road layer
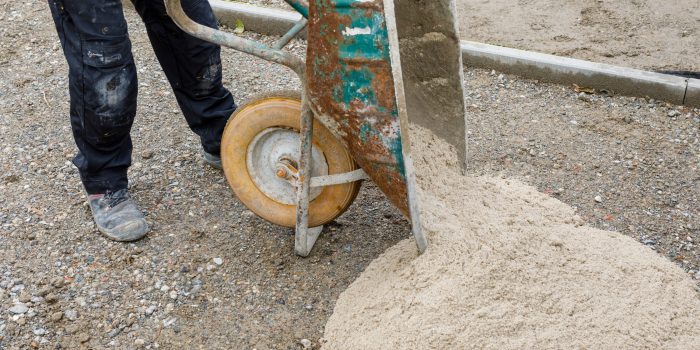
Constructing a road layer
Apply a laying bed (street layer) of about 4 cm. The clay clinkers will then be placed on top of this. Use coarse-grained, angular sand or gravel, such as crushed sand 0/4, as the material. Material that is too fine can penetrate the foundation and cause subsidence.
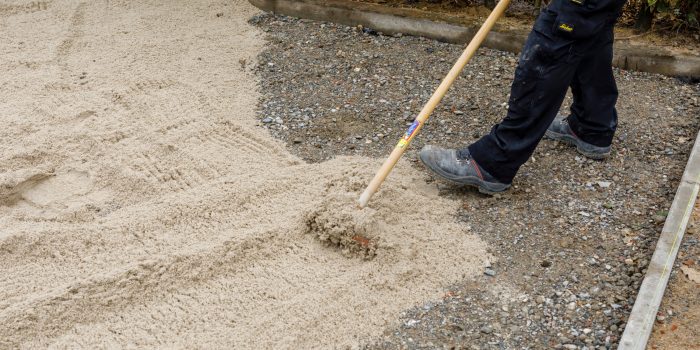
Spreading the sand for the pavement layer evenly
-
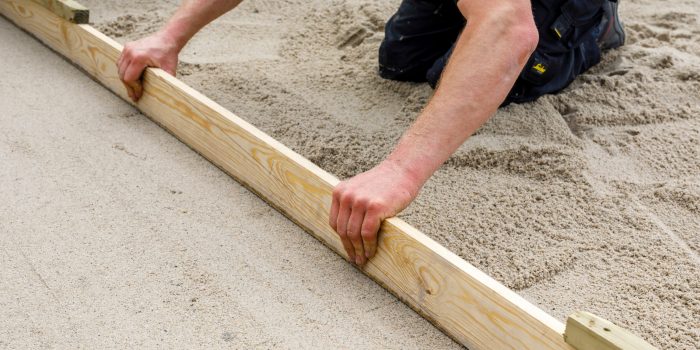
Level off up to thickness 50 mm
Use battens and a straightedge to level the laying bed.
Step 5 - placing the clay clinkers
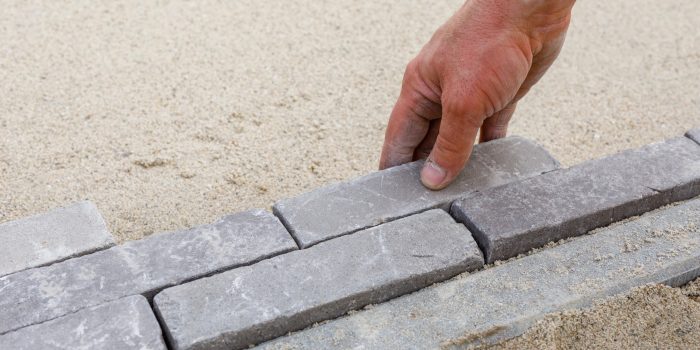
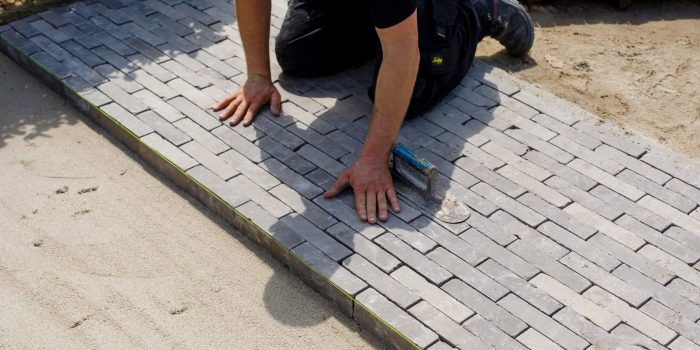
Always start at the side so you can keep the laying pattern.
Make sure the clay pavers are 5 mm higher than the curb.
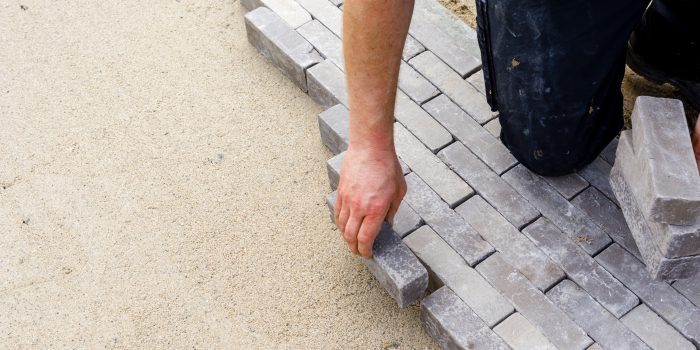
Using 'Click-click-drop' method
First tap the clay clinker against the 2 surrounding clay clinkers, and then tap it into the laying bed. Do not slide clay clinkers, as material from the laying bed may get between the clinkers and you will have irregular joints.
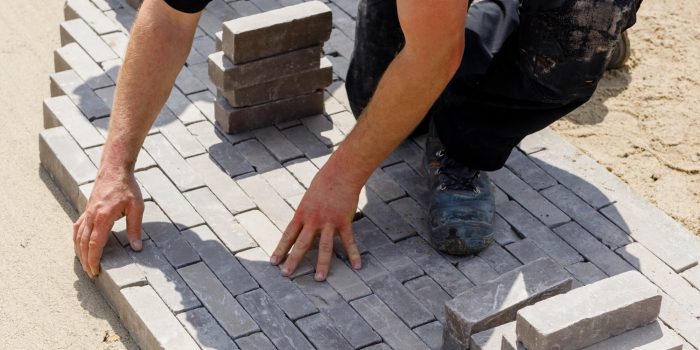
Laying clay clinkers
Mix clay clinkers from 4 different pallets to achieve ideal color nuance and spread size tolerances.
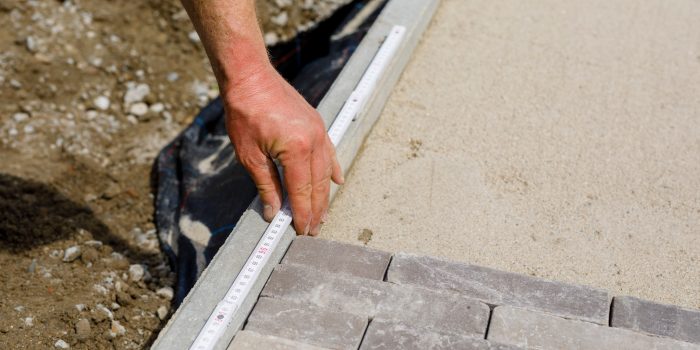
Control straightness
Method 1: with ruler.
Check rectilinearity every 5 rows.
Control straightness
Method 2: with cord.
Check rectilinearity every 5 rows.
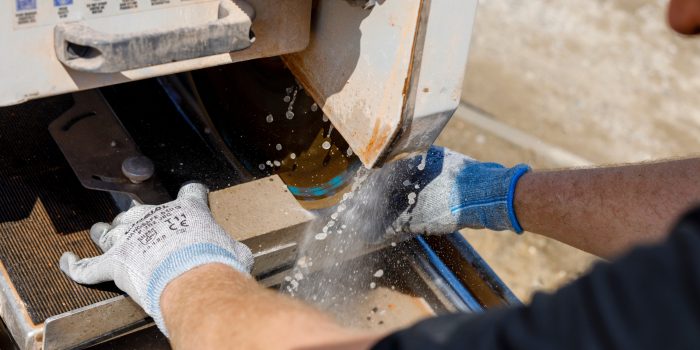
Sawing the clay clinkers with water saw
If you choose a laying pattern that requires pass pieces at the edges (sawn clay clinkers), skip those spots at the beginning and fill them in at the very end of your project. Do not use pass pieces smaller than 1/3rd of the clay clinker.
Step 6 - inserting and screeding
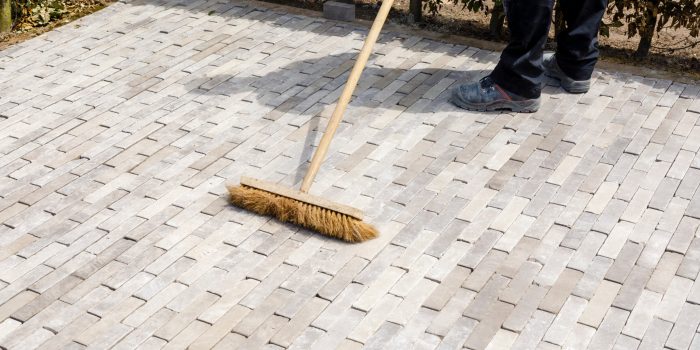
Surface wiping
After all the clay pavers are placed, wipe the surface clean.
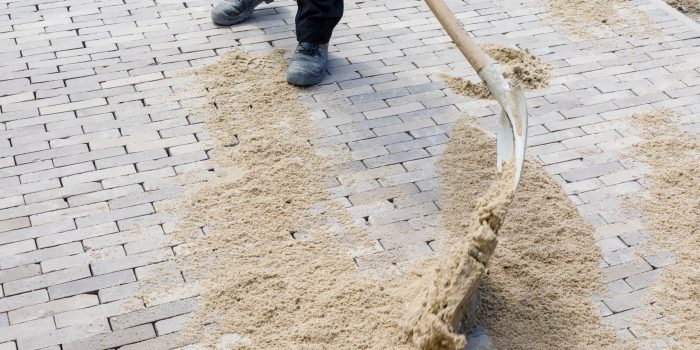
Full sand in joint
Now you may grout the joints for the first time with dry grout material. For this, use angular crushing sand or gravel, grain distribution 0/1 or 0/2, with a limited amount of fine material.
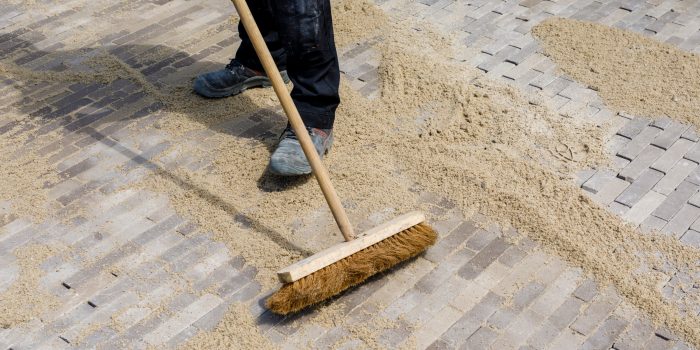
Full in sand on the surfaces
Sweep the sand completely open to fill all the joints. Then remove the excess sand.
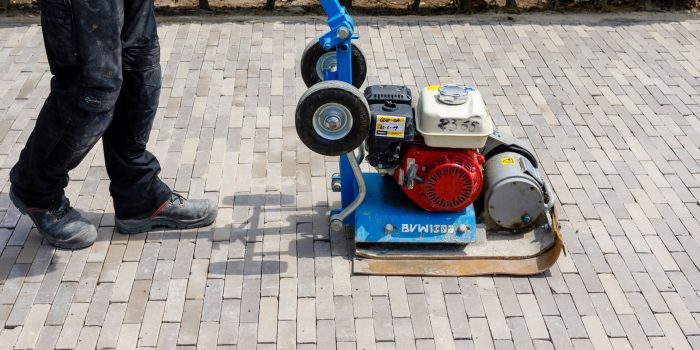
Vibrate with compact plate compactor
You can vibrate off the surface with a vibrating plate fitted with a rubber sole. Start from the side and always overlap with half a vibrating plate. Vibrating off allows the grout material to sink down into the joints. Meanwhile, the grout material also tenses up. At the same time, the street layer (directly under the clay pavers) is also compacted. It is important to allow for a settlement of about 1 cm here. The screeding should be repeated 2-3 times for optimal results.
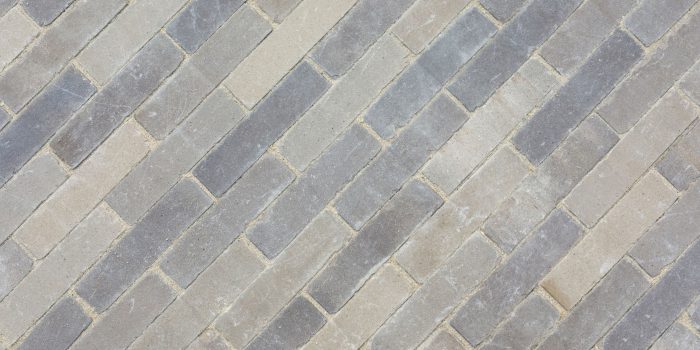
The result
Follow these steps, and you'll have no trouble building your own driveway, walkway or patio with our clay clinkers.
Aquata, the water-passive clay clinker
If you want to build a patio or driveway with the Aquata, most of the steps are the same, but with following points of interest.
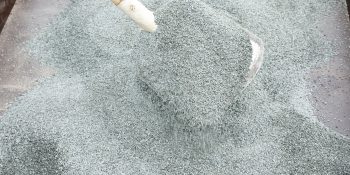
Constructing a road layer application
For the constructing a road layer, use “black grout” 1/3. Spread it evenly over the foundation.
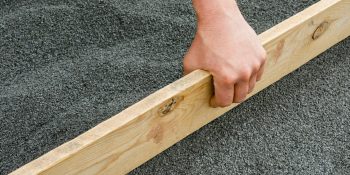
Level off to a thickness of 50 mm.
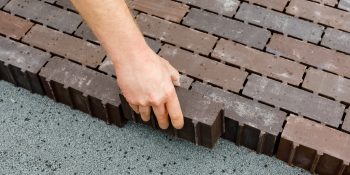
Laying clay clinkers
Tap clay clinker against surrounding clinker, lower and position correctly on uncompacted street layer (click & drop method).
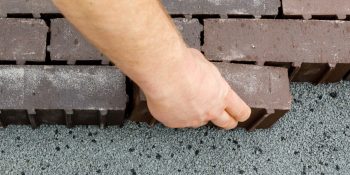
Laying clay clinkers
Note: Pay attention to the position of the spacers!
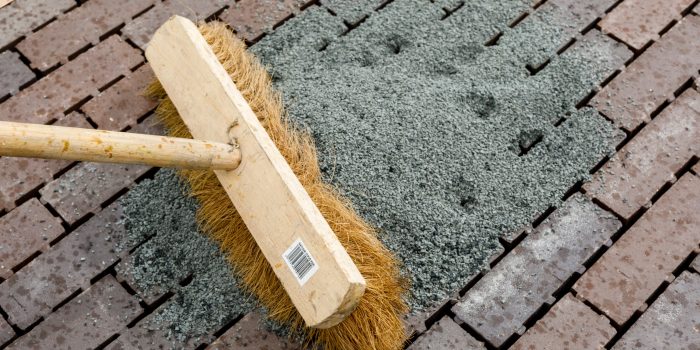
Inserting and screeding
Use crushed stone 1/3.
Also with Aquata, the surface must be vibrated so that the grout can sink down into the joints and tighten between the clinkers.
The joints should always be completely filled with grout material.
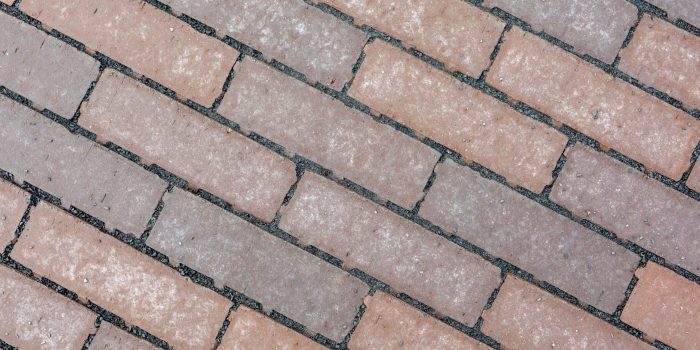
The result
Processing advice for decorative paving
Laying paving is a profession in itself. It is best left to a professional paver or landscaper. If you are going to do it yourself, make well-considered choices and read our practical guidelines.
Subsoil and foundation
Good, durable paving starts with a solid foundation. A good foundation ensures that your patio or garden path will not sink. The subgrade, the application and the type of pavers are very important in determining the foundation. If the subgrade is weak, a heavier or thicker foundation is needed. If you are using the pavers for a driveway, there is more load and it is wise to adjust the foundation accordingly.
Paving often consists of two layers, an underlayment and a paving layer. For a driveway, the carpet pad consists of coarse crushed stone or crushed rubble topped with a layer of paving sand. For a sidewalk, a carpet pad of filler sand is usually sufficient. The sand bed should be at least 20-30 cm thick. We recommend using lime-free road and fill sand. A foundation layer can settle. Therefore, the use of a vibrating machine for compaction is necessary. During paving, keep the sand bed smooth, this makes it easier to lay the paving.
Provide a 3-5 cm layer of split sand on the sand bed for proper drainage. This reduces the likelihood of any calcium efflorescence.
Ensure proper drainage of the paving in the correct direction. Allow for a slope of 1 cm per linear meter of paving. If necessary, consider the use of line drainage at the subgrade or foundation. This allows for smart handling of rainwater.
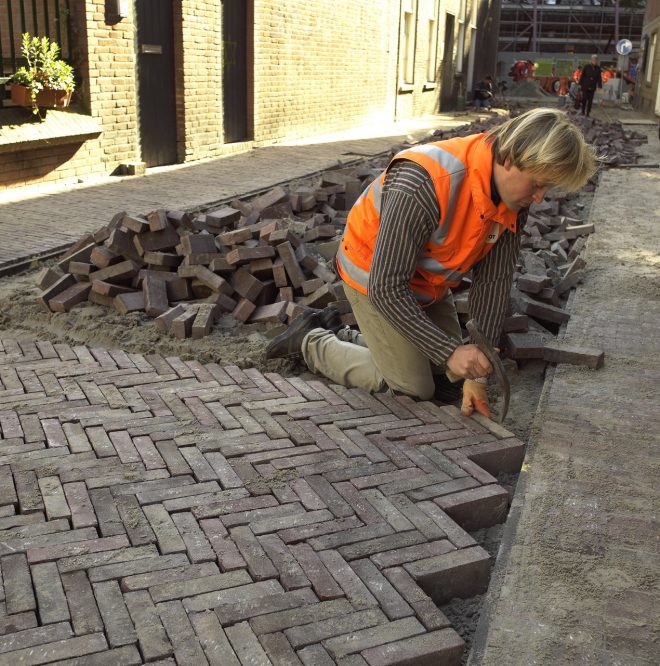
Bonding
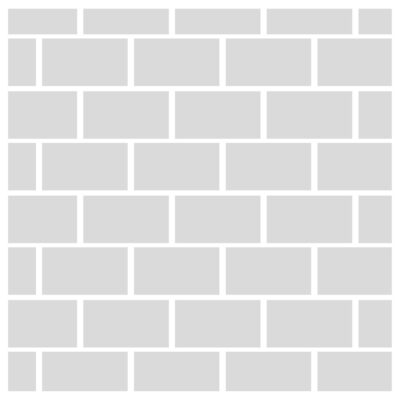
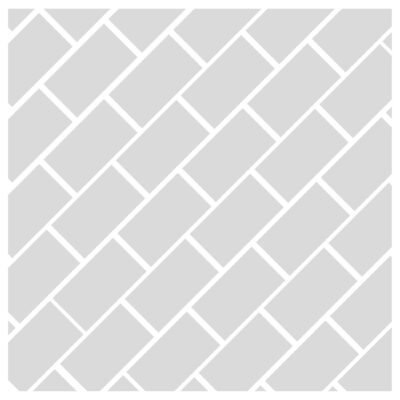
There are many bonding options for paving. Herringbone and elbow bonding are very stable and therefore extremely suitable for a driveway. For footpaths and terraces, a block bond, half-brick bond or diagonal bond can be used. Zigzag bonding is a variation on the diagonal bonding, where it is possible to apply markings with an intermediate layer.
Degrade
Wienerberger always delivers the paving bricks in different packages. Check the delivered bricks for article code, colour, size and any irregularities. If you have chosen nuanced paving bricks, it is advisable to take the bricks from different packages and per package diagonally, so not layer by layer. This creates a nice distribution of the different colours and colour nuances.
Do not slide the bricks over each other but ‘lift’ them from the package in one go. When laying paving bricks, an edge restraint is necessary. This prevents the paving from being pushed away or sinking. Maintain a joint of 2-3 mm between the paving bricks. This is necessary for sweeping in joint sand, preventing the paving bricks from chipping and compensating for size variation.
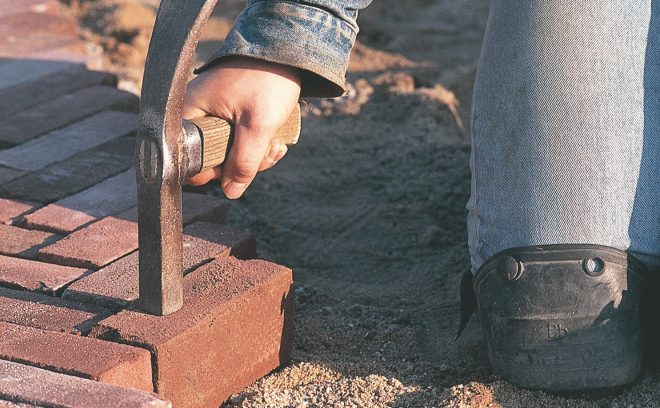
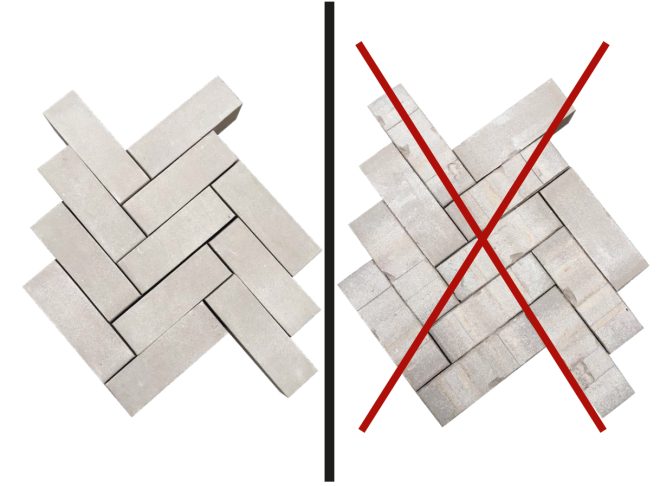
Always process the paving bricks in the same direction
When laying the paving, you will also have to cut bricks to size. We recommend doing this with a so-called brick cutter. Cutting paving bricks to size creates waste, also known as cutting loss. Therefore, when ordering paving bricks, take into account approximately 5% loss. This is particularly recommended for paving in herringbone pattern.
Size distribution
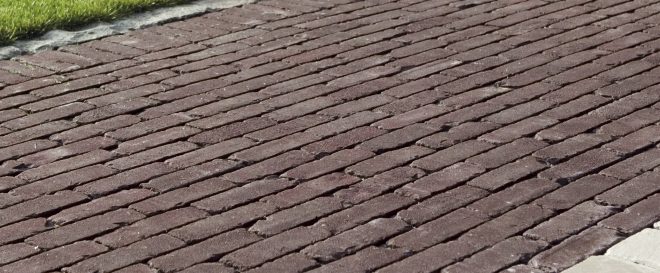
Due to the production process of drying and firing, not all paving bricks are the same size. The specified (average) size of the brick can and may differ from the average size. The size difference between the largest and smallest paving brick in a batch is called size dispersion. Of course, these are very small differences, generally only a few millimeters.
Finishing
When everything is ready, you should fill the paving with coarse, lime-free sand or lime-free crushed sand. Then sweep and then vibrate with a light vibrating plate with a rubber shoe or Teflon sole. Then sweep the paving and fill the joints completely. If the joints are incomplete or not filled, splintering of the paving brick may occur during use.
If the paver vibrates the paving, small hairline cracks may appear in the paving bricks and minor flaking may occur due to the vibrations of the vibrating machine. Flaking is increased if the necessary joint between the paving bricks has not been applied and is not provided with joint sand before vibrating.
With tumbled products, which have a rustic appearance, splintering may still occur due to hairline cracks in the surface of the paving brick despite sufficient filling of the joints. This is inherent to the tumble process.
Cleaning and maintenance
Contamination on a pavement
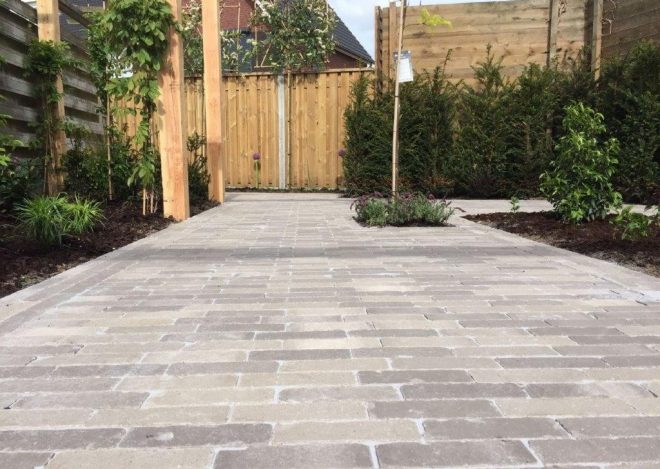
A pavement with paving bricks can become contaminated for various reasons; regularly sweeping the pavement is (usually) sufficient to prevent this contamination. The use of a high-pressure cleaner is not recommended.
Efflorescence on a pavement
A white efflorescence can become visible in certain places on a pavement, especially on those parts that do not regularly get wet from rainwater, such as under a carport or on large roof overhangs. This efflorescence is often caused by soluble substances from the substrate on which the pavement is laid. The paving brick acts as a means of transport. Regular scrubbing with water is usually sufficient to remove this white efflorescence. Cleaning the efflorescence with special cleaning agents is possible.
Paving turning green
A green rash can occur on paving that remains wet for a long time due to the effects of rain and surface water. This green discolouration can also occur on parts of a paving. Natural organisms such as algae can develop on a moist surface, such as paving bricks that remain wet for a long time. This is a natural process that cannot be attributed to the quality of the paving bricks supplied.
Care, maintenance and cleaning of pavers
Unbound paving slabs must be cleaned gently. They should be machine-cleaned after a period of one year at the earliest. Vacuuming should be avoided in any case.
Paving slabs should be checked regularly. Any joint material that has been removed must be replaced immediately. Deformations, dents or sagging that may cause water retention must be removed immediately. If clinker pavers are soiled by liquids, e.g. from summer barbecues or dripping engine oil, cleaning agents available from specialist dealers can be used to remove them. Clinker pavers are not affected by this cleaning, nor is their color fastness impaired. On surfaces exposed to the elements, such soiling usually disappears by itself.
To remove road salt deposits, we recommend simply sweeping the surface. Natural sprinkling will gradually remove the road salt. As an alternative to road salt, the use of grit or granules is generally recommended.
Covered areas
In order to simulate the natural wash-off effect of rainwater, even in roofed areas, these areas must be scrubbed with water from time to time. Cleaning the clinker surface with a high-pressure cleaner is not advisable due to the risk of the joints being washed out.
Slip resistance/grip
Paving bricks and pavers have sufficient slip resistance, provided that their surface has not been ground, polished or produced in such a way as to create a particularly smooth surface.
Stay informed
Subscribe to our newsletter and receive all updates.
