EN
EN TR
TR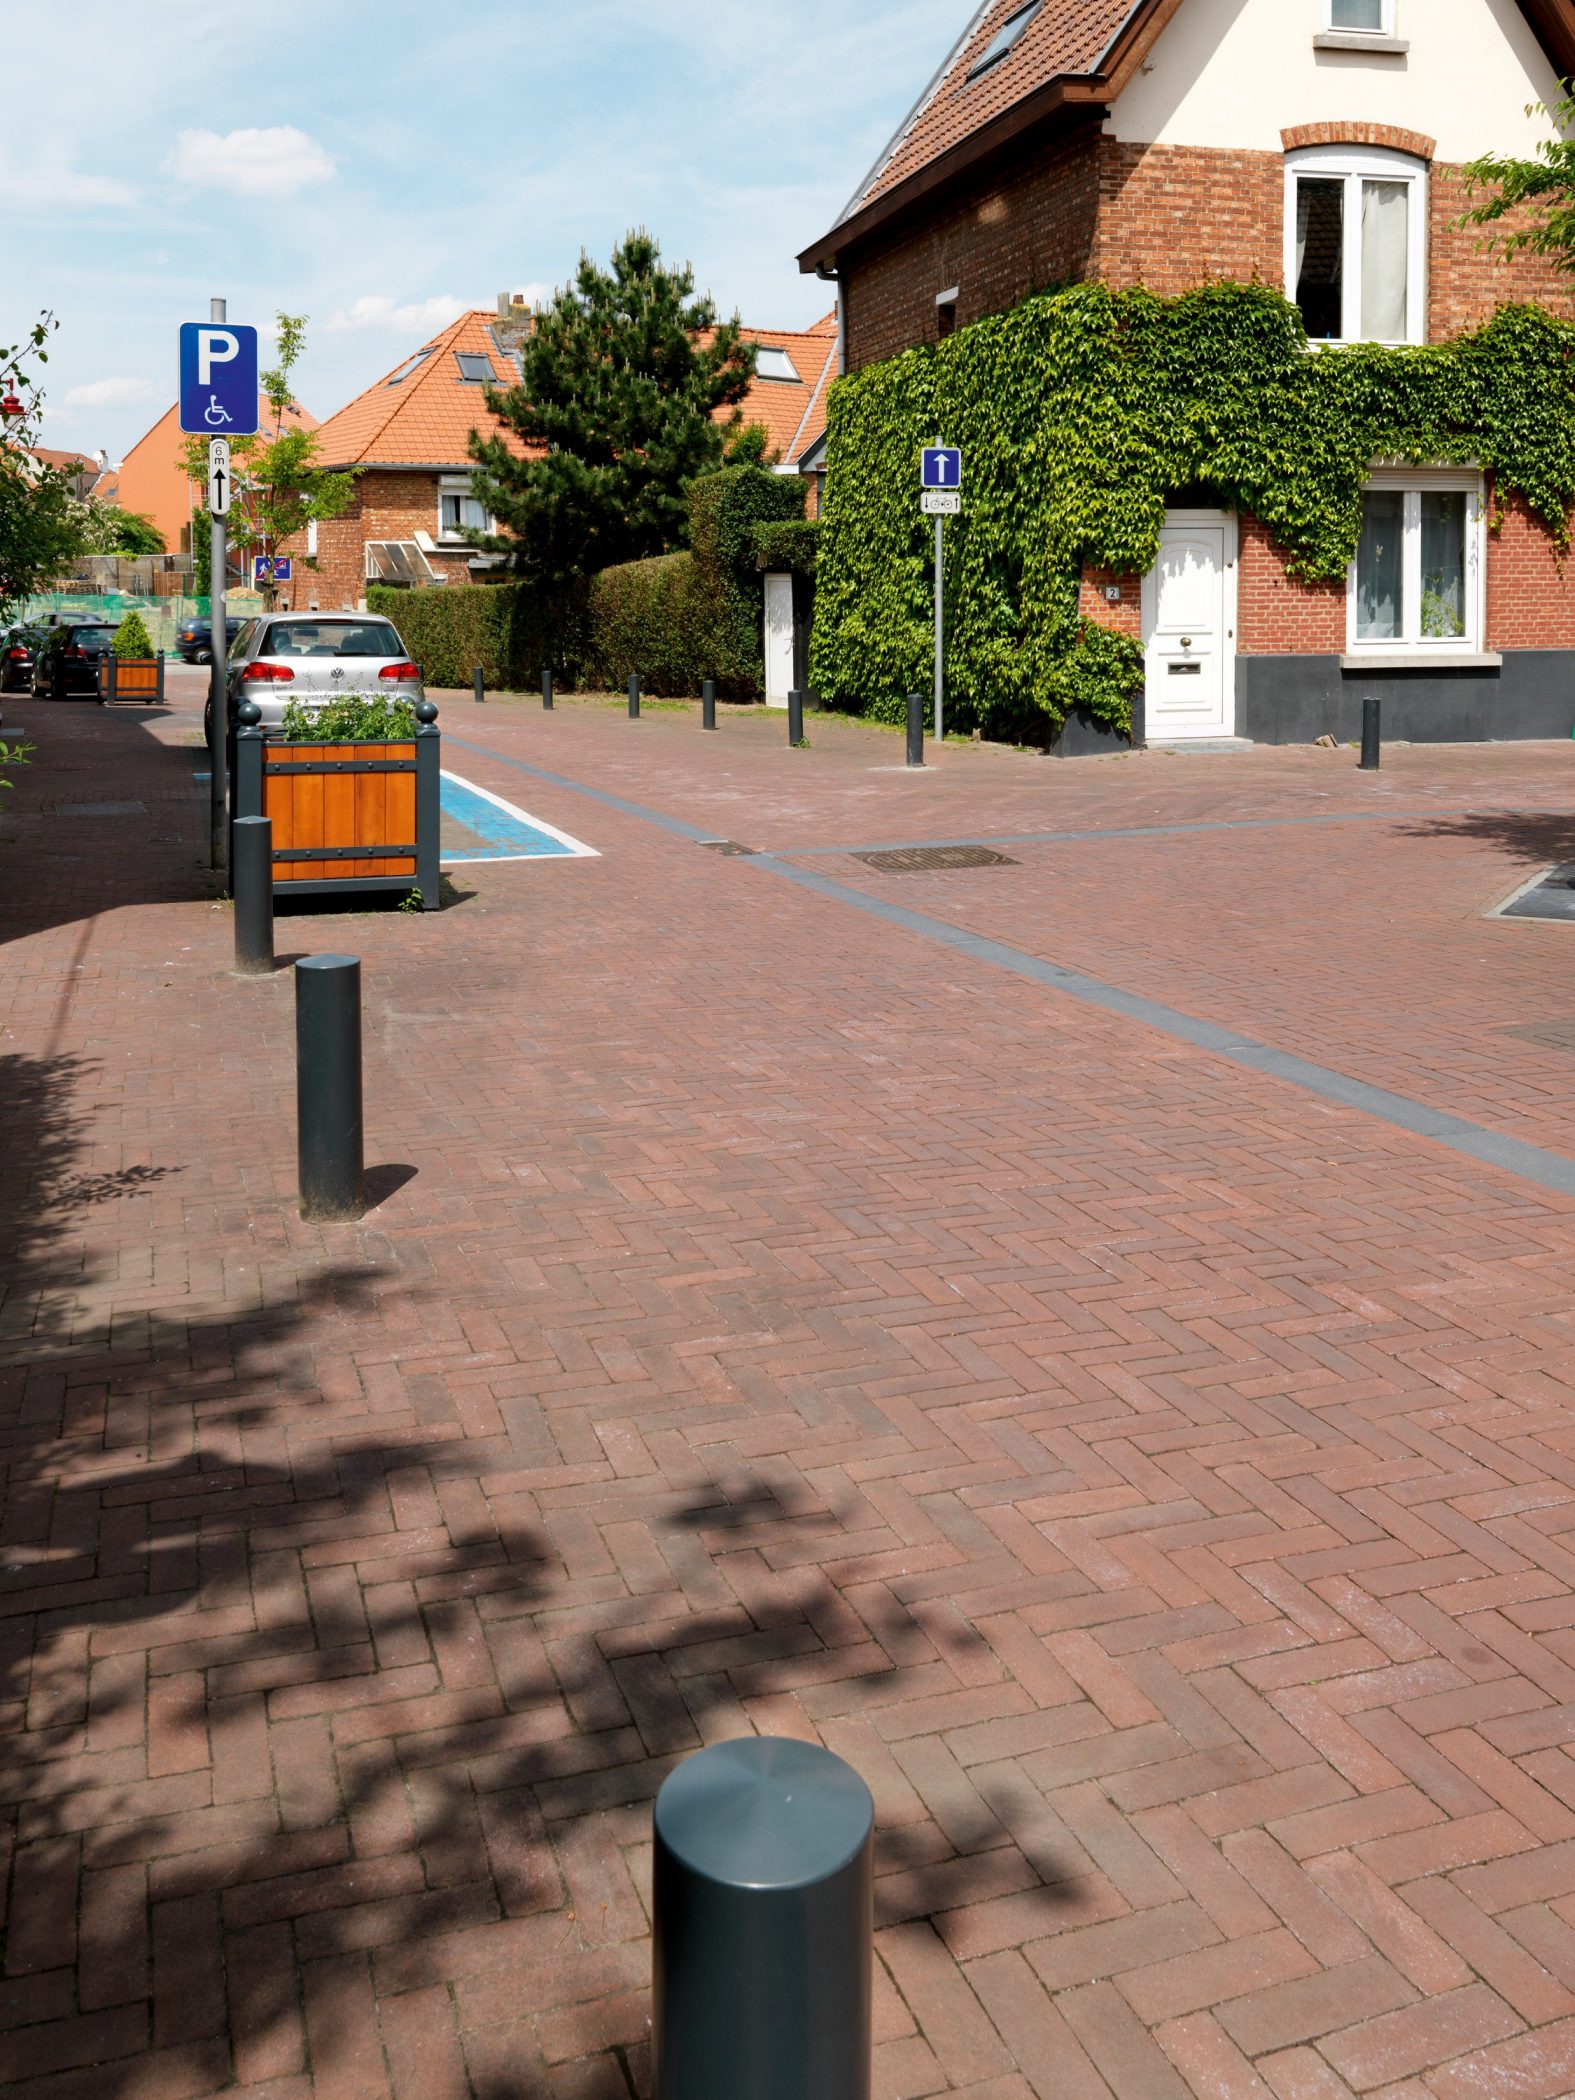
DIN EN 1344 requires the slip resistance class U3 for paving surfaces in pedestrian areas, which corresponds to an SRT value of at least 55 (SRT = Skid Resistance Tester). This requirement is met by all wienerberger pavers!
Excavation to proper depth
The subgrade, or track bed, is usually obtained by excavating soil. It is important that the subsoil be firm enough to support the foundation, the clay pavers and the load that will be placed on top of them, such as a car on a driveway. The subsoil must also be sufficiently permeable. This makes it necessary to excavate deeper than the thickness of the clay pavers. So be sure to check the depth.
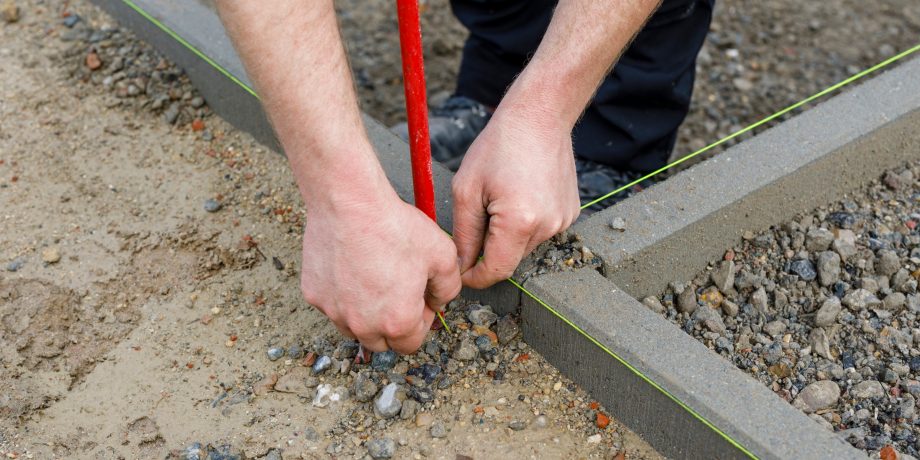
Plotting with wire and pickets
You can use wire and stakes to ensure that the subgrade is deep enough everywhere. When doing this, also take into account the necessary slope at the final finish in order to drain rainwater sufficiently (2 m per 100 m). Make sure that the surface is completely free of dirt, debris and water after you have excavated the necessary soil.
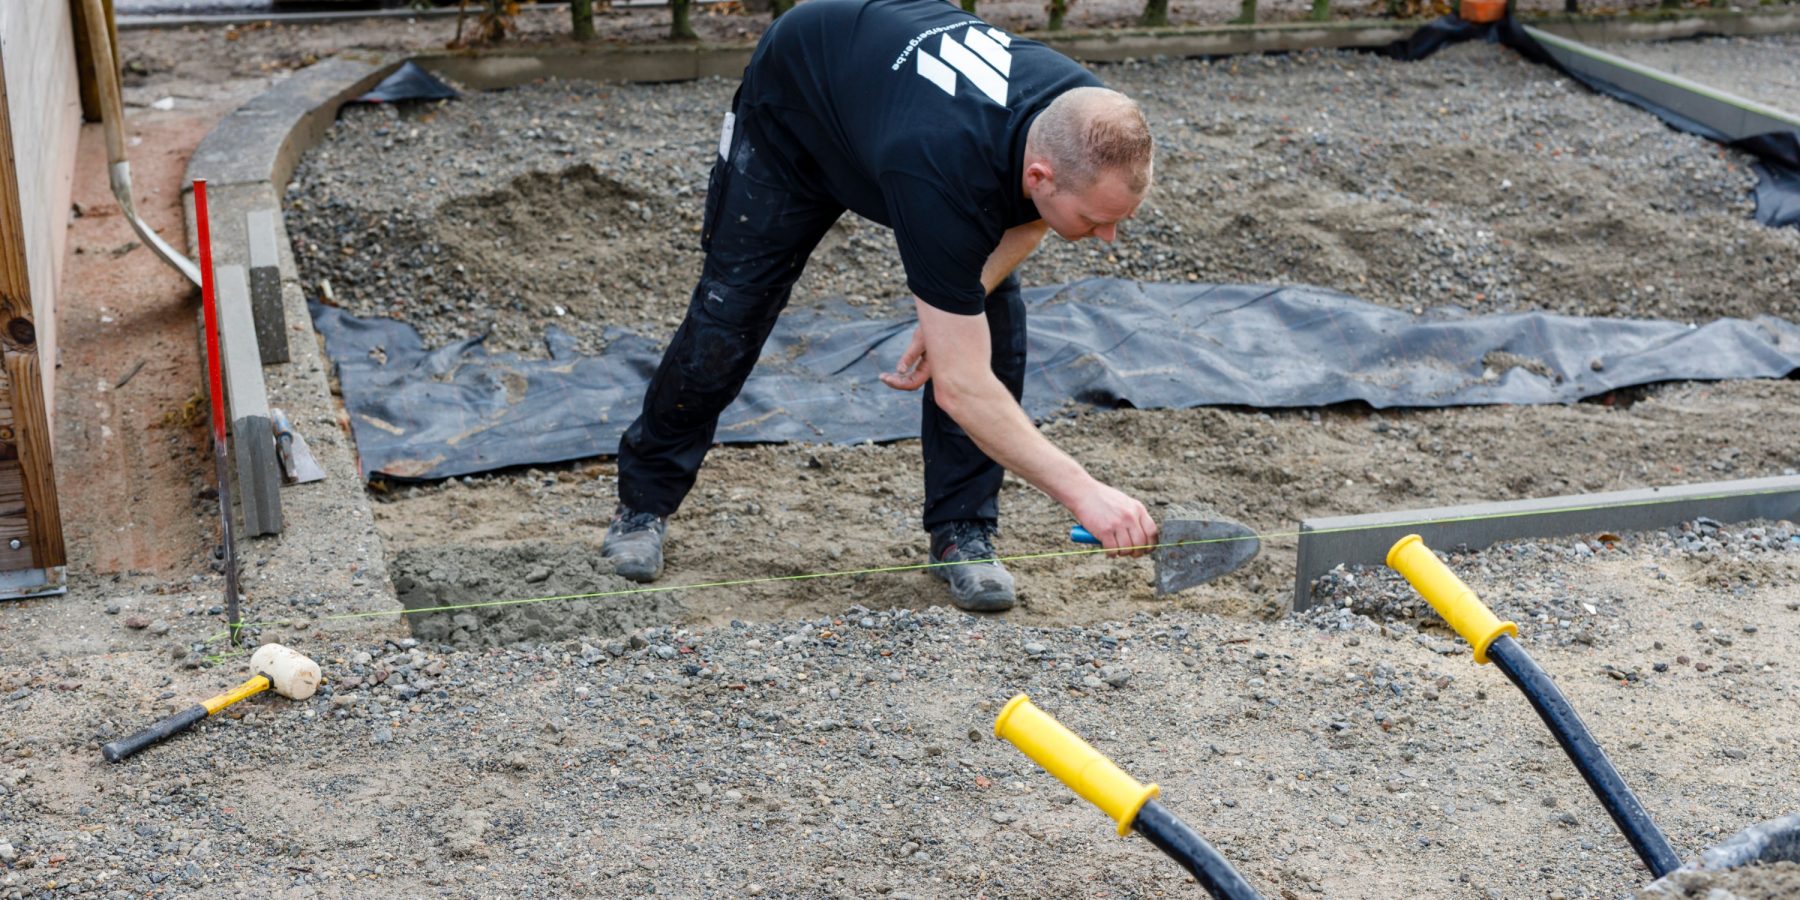
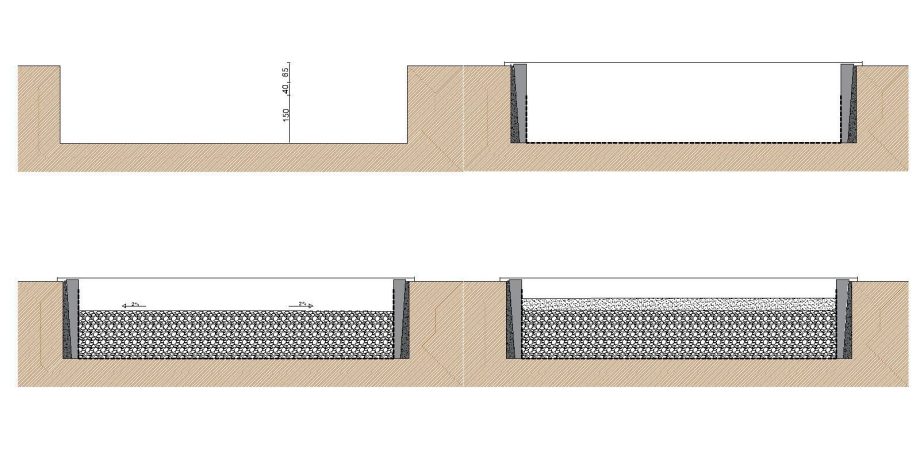
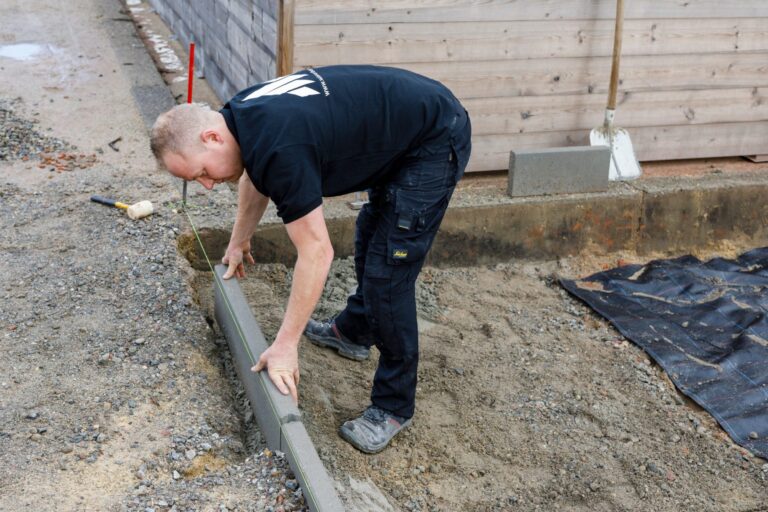
Provision of edging
A properly placed curb, or edging, is very important because it keeps the clay clinkers in place.
- Usually you just need precast, line-shaped concrete elements for this. Place these on the ground even before you lay the foundation. Under the embankment, you also apply another 5 to 10 cm of sand. Finally, secure the edging with sand cement and allow to harden for 1 day.
- Extra tip: to avoid having to saw a lot of clay clinkers, it is best to lay out a row of clay clinkers beforehand. That way, you will know how far apart the borders need to be without having to saw clinkers. Use clay clinkers from 4 different pallets to avoid any size nuances.
- The clay clinkers should end up about 0.5 cm higher than the edging to prevent water from standing (not necessary if you install a gutter).
- In addition to the border fence, it is best to also provide 1 or 2 rows of rows (2 rows of clay pavers placed on their side). Especially with diagonal joints, so that the sawn clay pavers do not lie against the edge fence.
Important: Allow the sand cement (around the edging) to fully cure before laying a foundation.
Laying a foundation
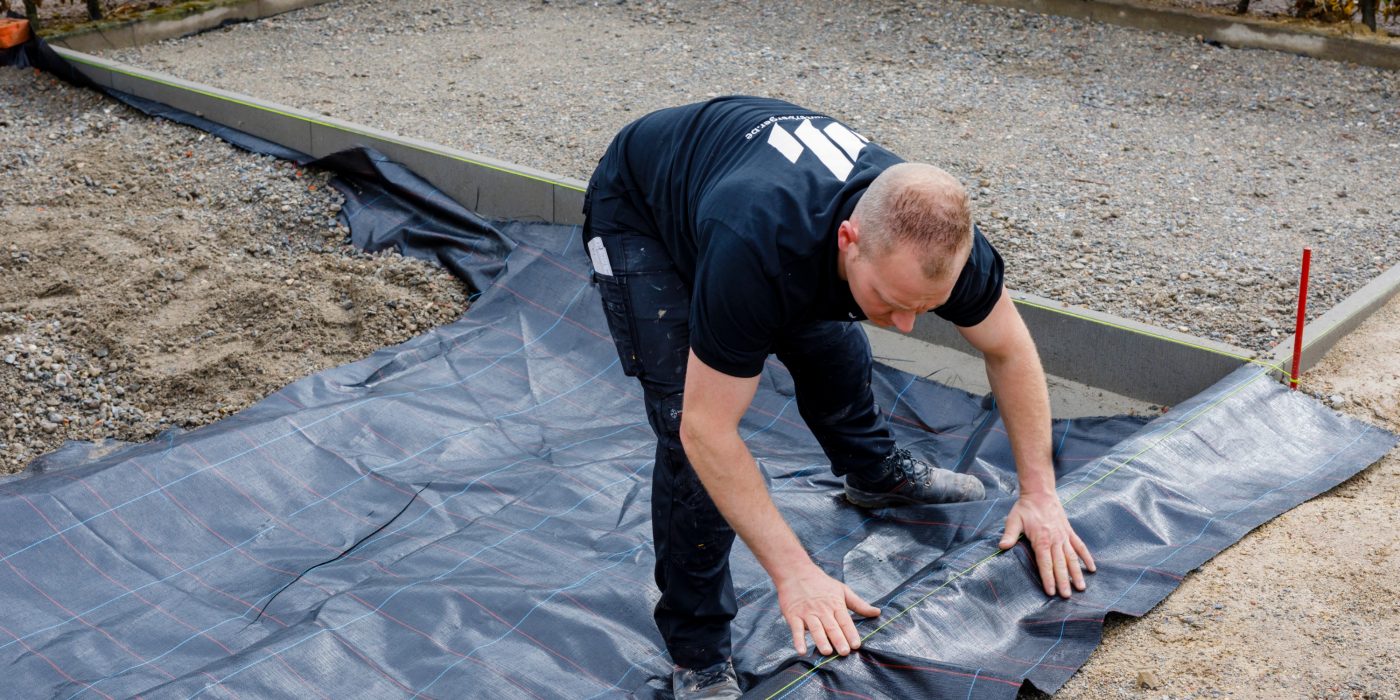
A geotextile must first be placed between the subsoil and the foundation. This is a cloth in plastic that allows water to penetrate the subsoil, but prevents dirt from getting to the foundation.
The thickness and material of the foundation depends on 2 factors:
- Bearing strength of the subsoil (e.g., clay or sand)
- Expected load (garden furniture on a patio or a car in a driveway)
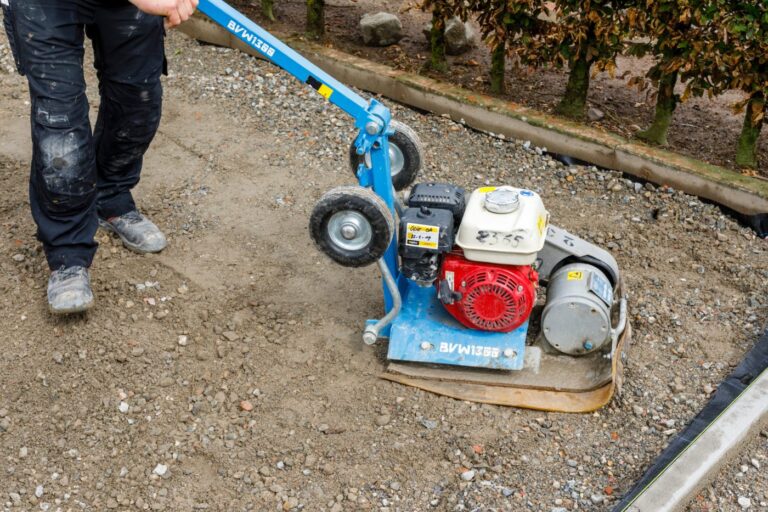
In private applications such as patio, walkway, driveway ... a foundation of 20 to 25 cm of compacted crushed stone usually suffices. Make sure that the foundation is compacted and remains sufficiently permeable so that you do not have frost damage in the winter.
Important: a slope of 2% is required at the final finish to allow water to drain away. You should already do this when laying the foundation.

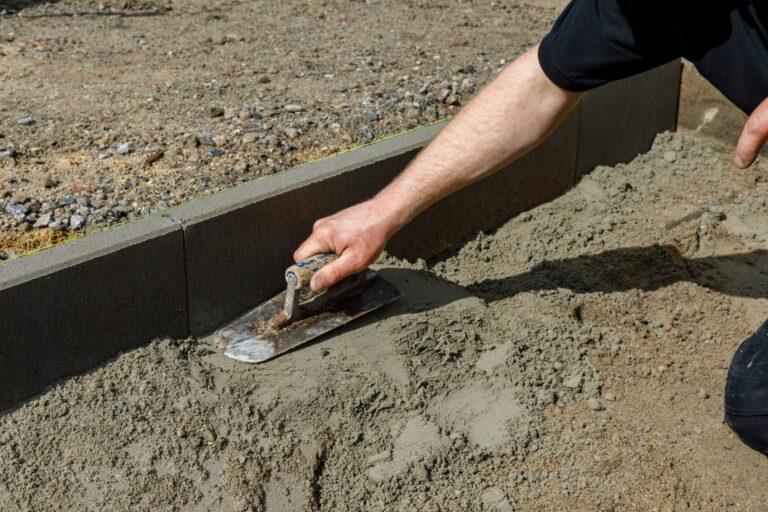
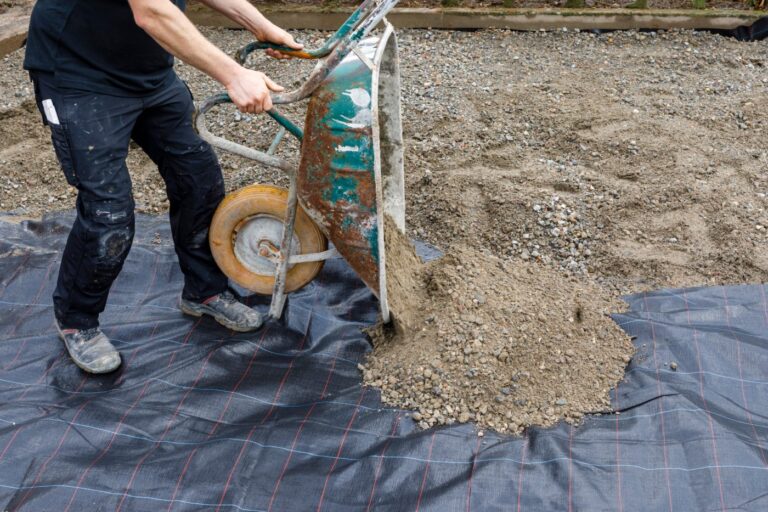
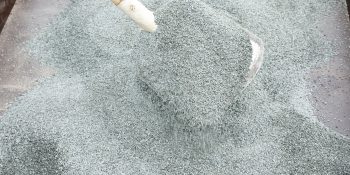
Constructing a road layer
Apply a laying bed (street layer) of about 4 cm. The clay clinkers will then be placed on top of this. Use coarse-grained, angular sand or gravel, such as crushed sand 0/4, as the material. Material that is too fine can penetrate the foundation and cause subsidence.
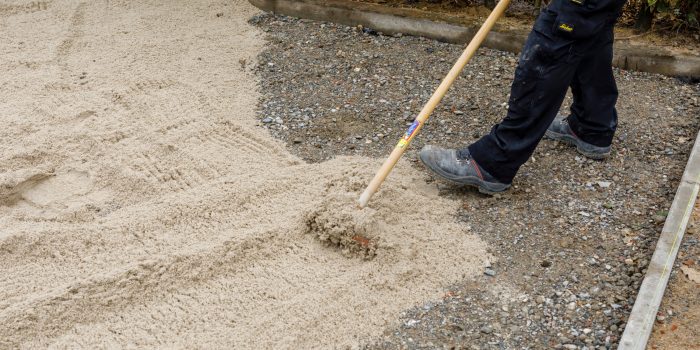
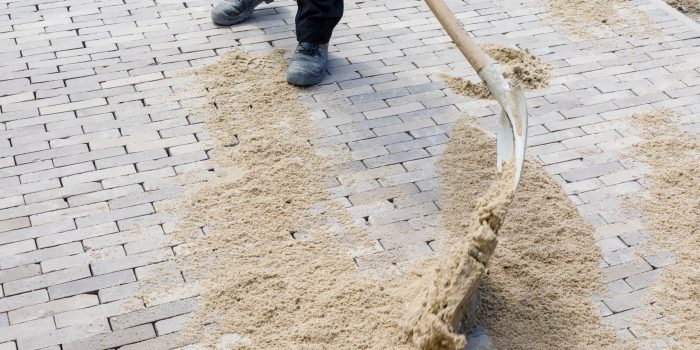
Spreading the sand for the pavement layer evenly
-

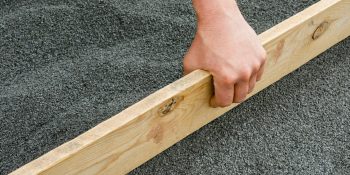
Level off up to thickness 50 mm
Use battens and a straightedge to level the laying bed.
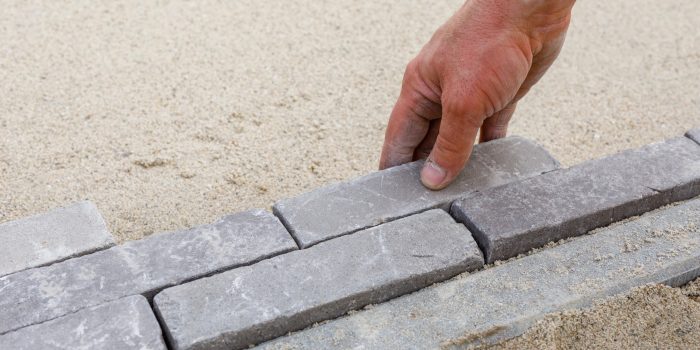
Always start at the side so you can keep the laying pattern.
Make sure the clay pavers are 5 mm higher than the curb.
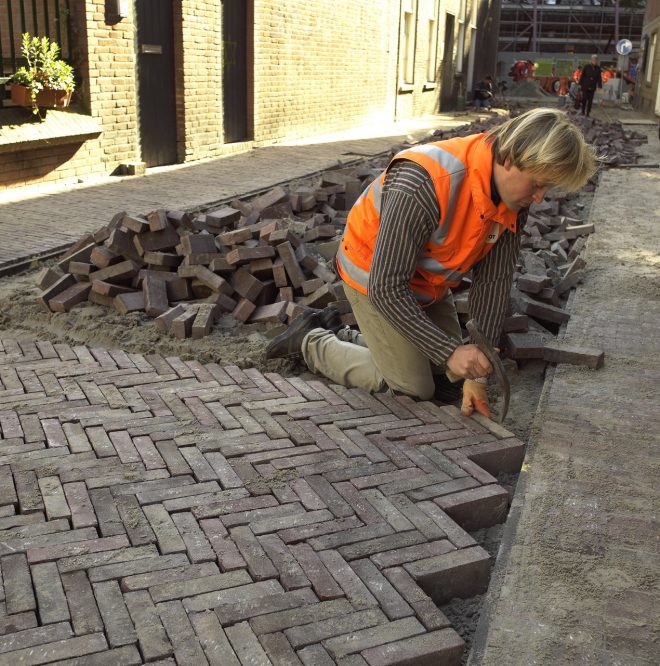
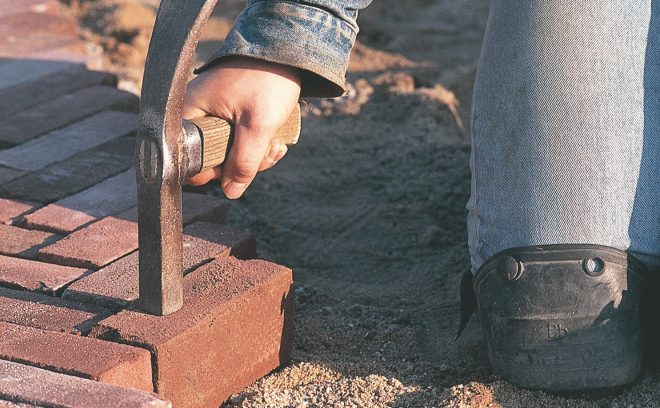
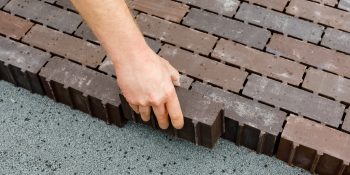
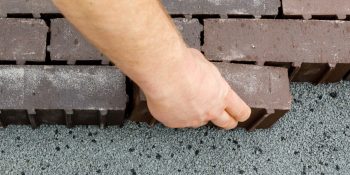
Using 'Click-click-drop' method
First tap the clay clinker against the 2 surrounding clay clinkers, and then tap it into the laying bed. Do not slide clay clinkers, as material from the laying bed may get between the clinkers and you will have irregular joints.
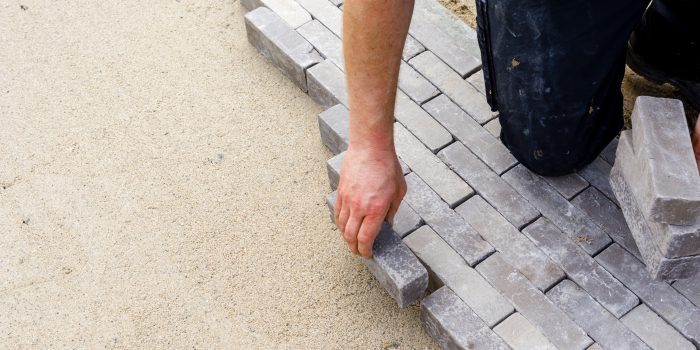
Laying clay clinkers
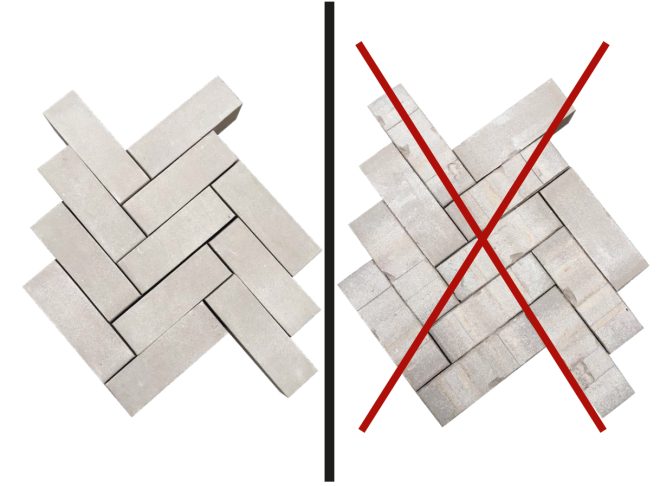
Mix clay clinkers from 4 different pallets to achieve ideal color nuance and spread size tolerances.
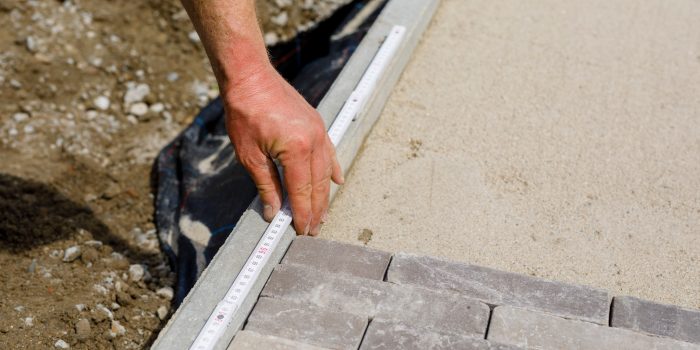
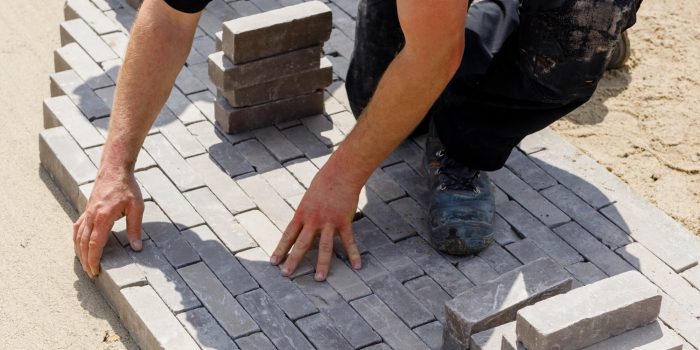
Control straightness
Method 1: with ruler.
Check rectilinearity every 5 rows.
Control straightness
Method 2: with cord.
Check rectilinearity every 5 rows.
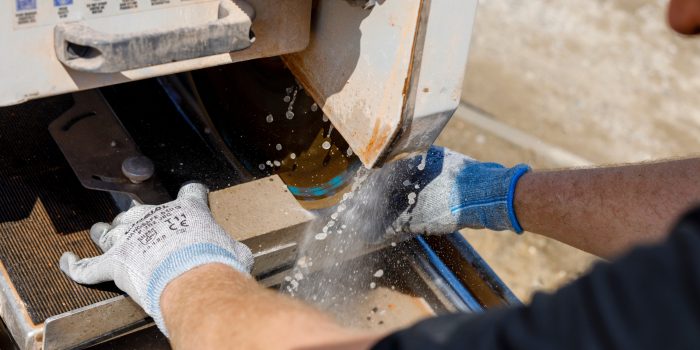
Sawing the clay clinkers with water saw
If you choose a laying pattern that requires pass pieces at the edges (sawn clay clinkers), skip those spots at the beginning and fill them in at the very end of your project. Do not use pass pieces smaller than 1/3rd of the clay clinker.
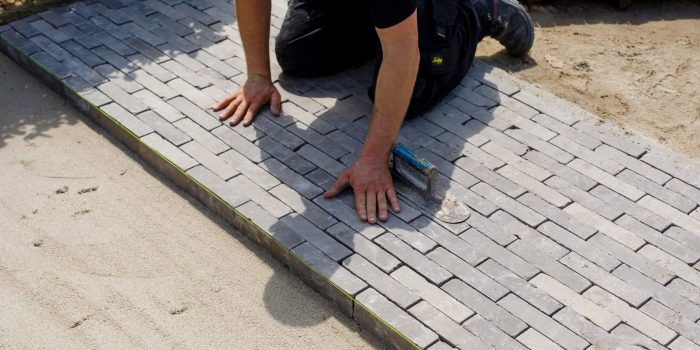
Surface wiping
After all the clay pavers are placed, wipe the surface clean.
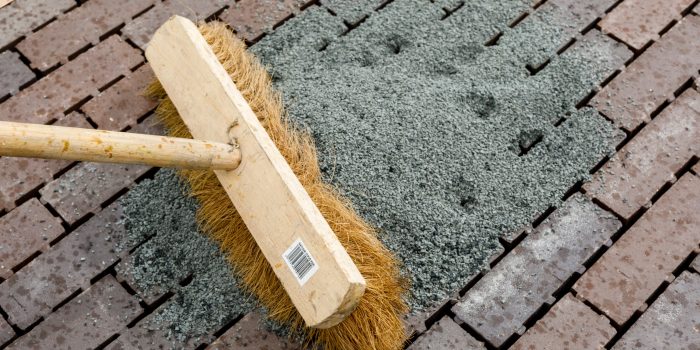
Full sand in joint
Now you may grout the joints for the first time with dry grout material. For this, use angular crushing sand or gravel, grain distribution 0/1 or 0/2, with a limited amount of fine material.
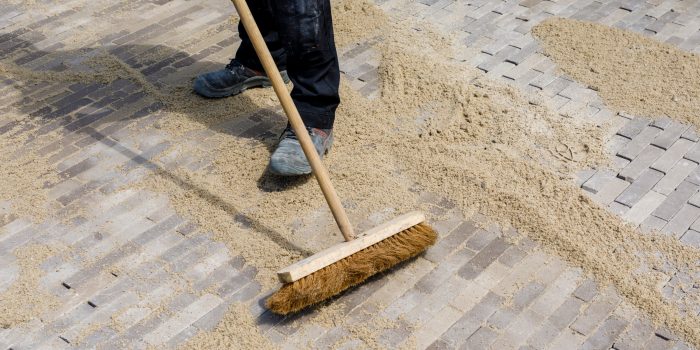
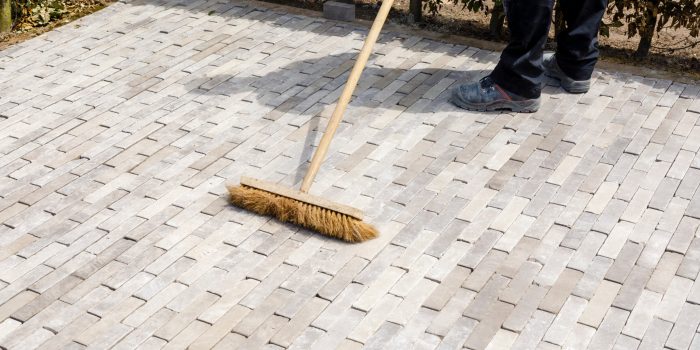
Full in sand on the surfaces
Sweep the sand completely open to fill all the joints. Then remove the excess sand.
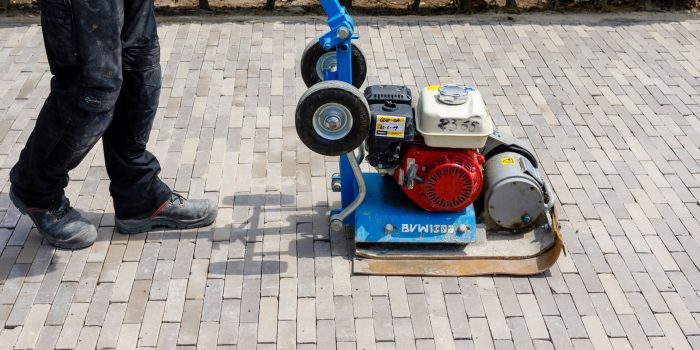
Vibrate with compact plate compactor
You can vibrate off the surface with a vibrating plate fitted with a rubber sole. Start from the side and always overlap with half a vibrating plate. Vibrating off allows the grout material to sink down into the joints. Meanwhile, the grout material also tenses up. At the same time, the street layer (directly under the clay pavers) is also compacted. It is important to allow for a settlement of about 1 cm here. The screeding should be repeated 2-3 times for optimal results.
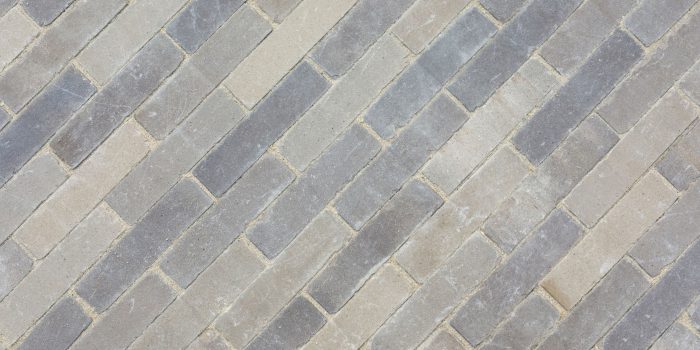
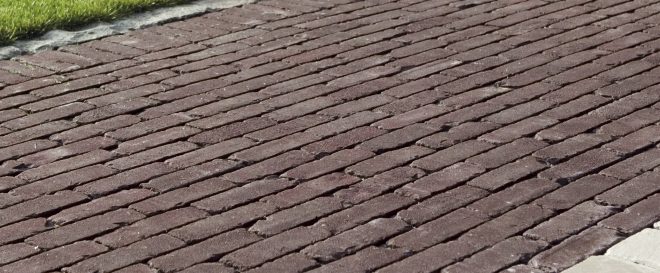
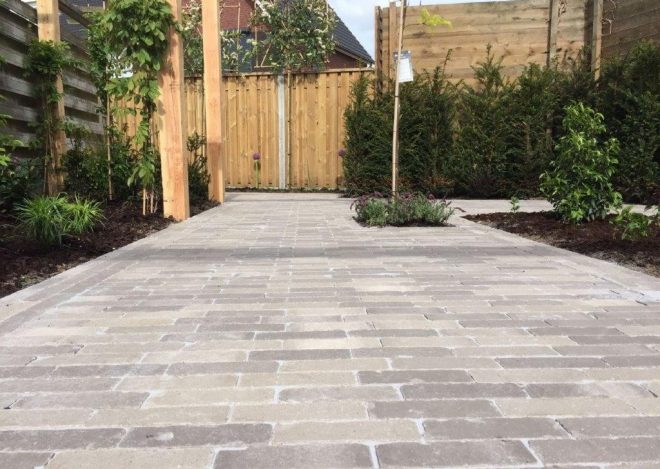
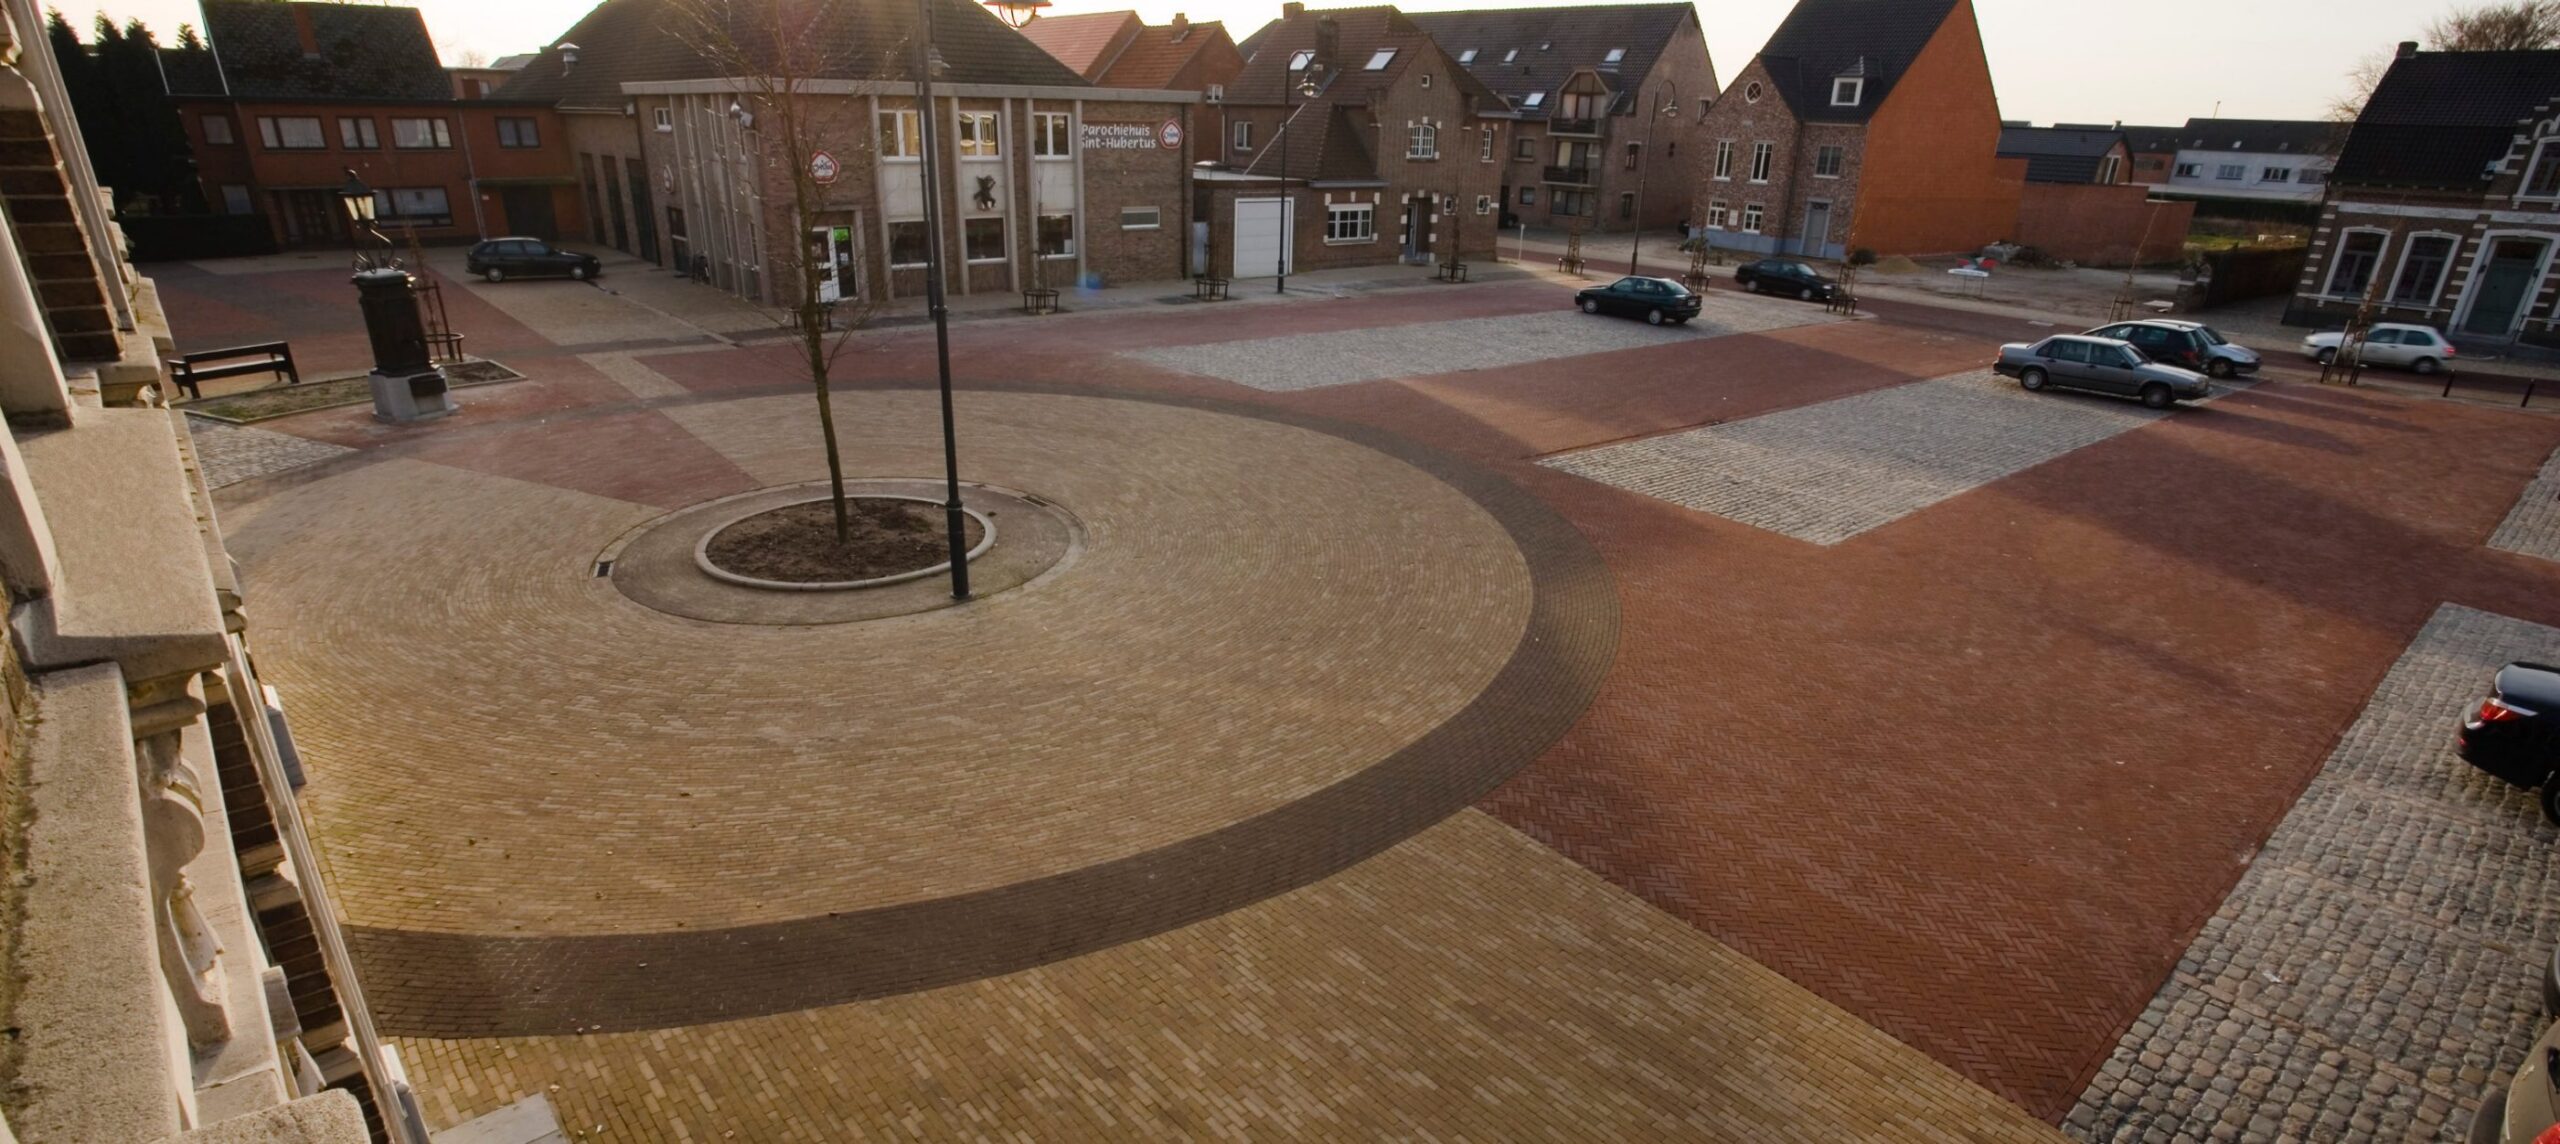
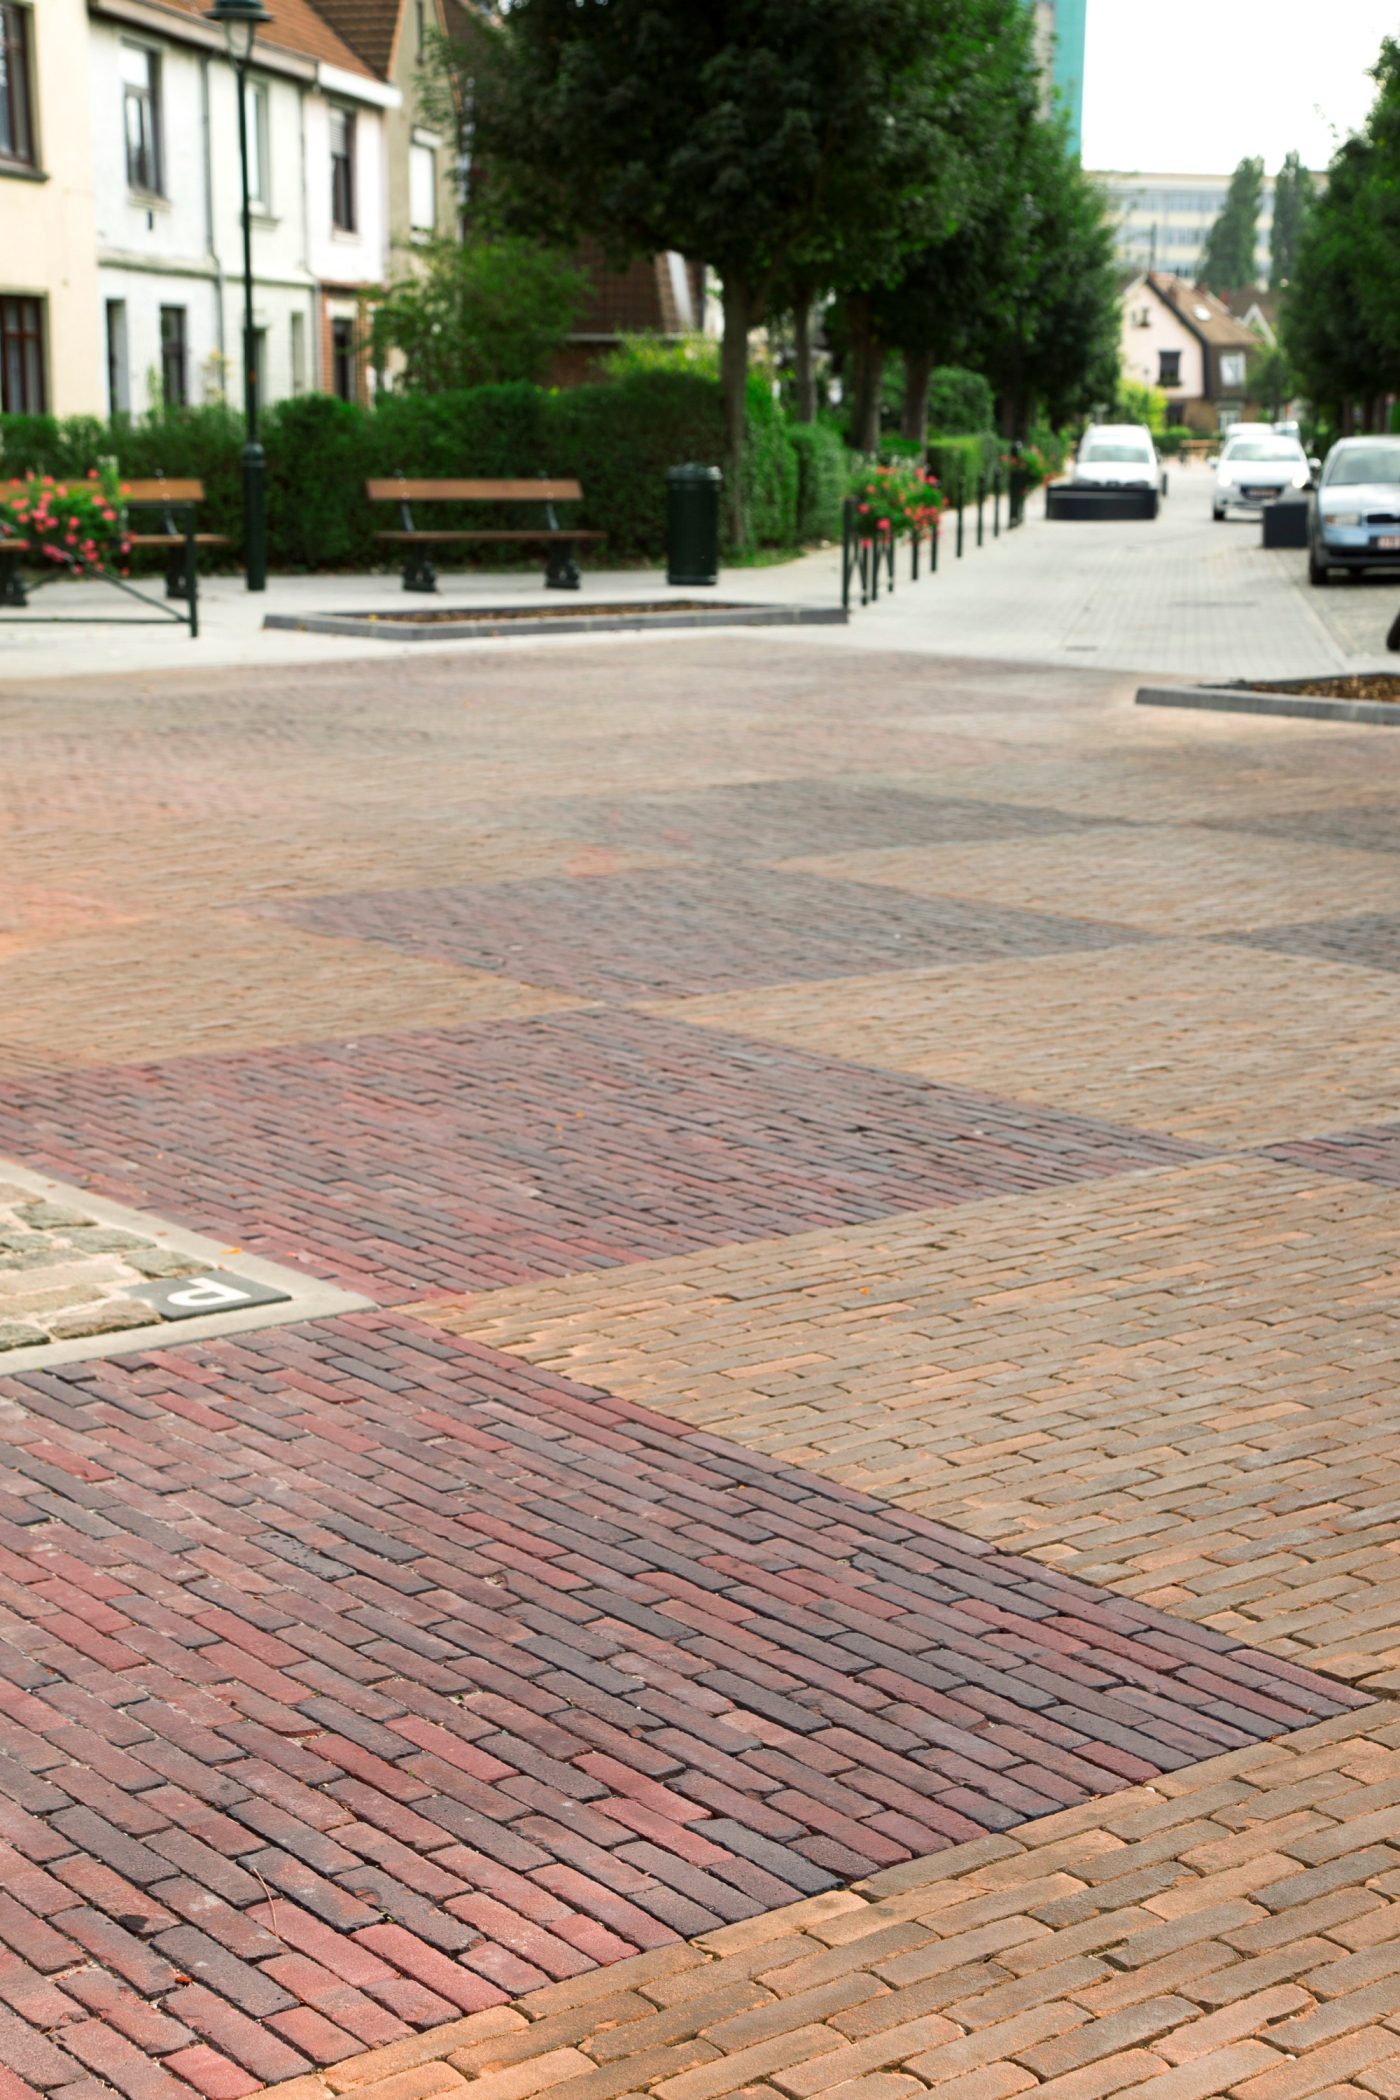
The result
Follow these steps, and you'll have no trouble building your own driveway, walkway or patio with our clay clinkers.
Constructing a road layer application
For the constructing a road layer, use “black grout” 1/3. Spread it evenly over the foundation.
Level off to a thickness of 50 mm.
Laying clay clinkers
Tap clay clinker against surrounding clinker, lower and position correctly on uncompacted street layer (click & drop method).
Laying clay clinkers
Note: Pay attention to the position of the spacers!
Inserting and screeding
Use crushed stone 1/3.
Also with Aquata, the surface must be vibrated so that the grout can sink down into the joints and tighten between the clinkers.
The joints should always be completely filled with grout material.

The result